Wednesday, 29 November 2017

A Murder Mystery Weekend

A Murder Mystery Weekend

This past weekend Friday to Sunday, David and I attended a marvellous Joy Swift  murder mystery weekend in Surrey. We had never been to one before but were invited along by Helen’s father in law, Peter, who is an old hand. The timing was just before both Peter’s and Helen’s birthdays. So it was an extended family event - Helen and her husband, his brother and girlfriend, his parents and us.

The background story was that we were members of a travelling fair and there were two costumed/themed events. Night one had a ‘colourful’ theme and night two was the letter ‘F’ I decided early on to make costumes - Helen, who had also been to one of these weekends previously, told me the idea wasn’t to hire or buy a costume. I didn’t have as much time as I’d have liked but I started to make costumes.

My photos from the weekend are poor so I've tried to post some from this morning. Taken hurriedly. we both have colds and aren't feeling great - a lazy day.

Outfits
F

David quickly decided he wanted to go as William of Baskerville from Name of the Rose (Umberto Eco) a sleuthing Franciscan monk. He stuck to this plan and we bought brown boiled wool, which can be reused later. He made his own robe, hood and bag without any help from me, using his own sewing machine, never previously used by him - a vintage Singer bought to use for leather work. He researched the rope for the waist and ended up using undyed rope - originally we thought it would need to be stained with tea or coffee. He finally made up his robe on the very last weekend before we went, while I was at a sewing weekend in Yorkshire. I think he did so well


David even made his own pouch/bag

Originally I considered going as Sister Fidelma, a sleuthing nun, but quickly gave that one up when I realised that she had left the sisterhood and now dressed in royal clothes - too elaborate.
I also considered Miss Fisher as she has some fabulous clothes but decided her figure is more suited to them than mine.

Eventually I decided on a Flower Child - or in this case a Silver Flower Woman! I’ve posted separately about my outfit. Regrettably, this wasn’t so successful as people didn’t immediately recognise what I was supposed to be. However, I do feel I can use this dress again. I’ve posted separately about the dress, a Paisley pattern on black. I wore it with a headband, flower, pink sandals and some bangles.
Taken at home this morning - lacking the accessories

Some of the other outfits were fabulous. A group of Flappers. A female Flasher. A fishtank. Helen’s brother in law went as Fruit, dressed as a banana. His girlfriend was Flash, Peter was a Fly Half , Anthony a Fencer and his mother a fairy.

Colourful

I suggested yellow jeans for David (already posted) and we ended up buying a kaleidoscope top. He wore these with a yellow hat and blue trainers, plus sunglasses. Alison thought the photos looked like Timmy Mallet!


Originally, I was going to go as Zandra Rhodes but then realised I just needed to be colourful.

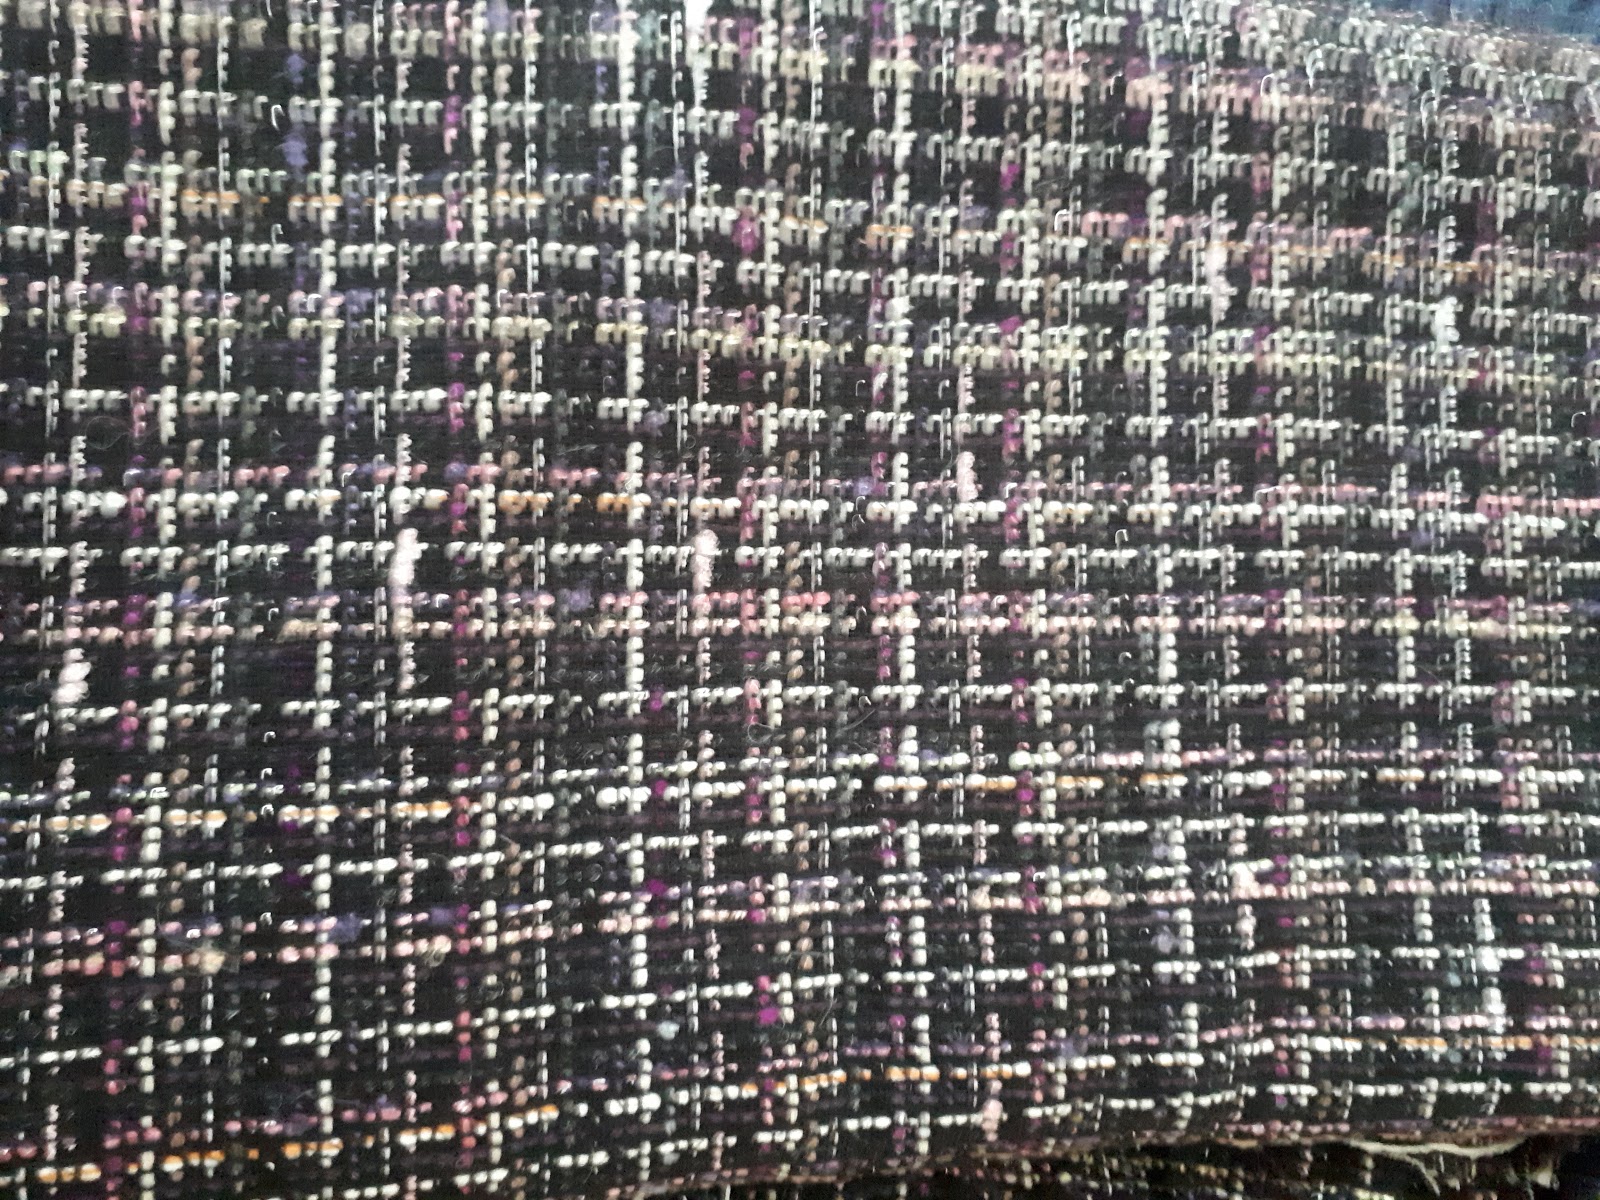
I decided I wanted to buy colourful fabric and make a jump suit. I’ve posted details separately. I had a few fabrics to choose from but this was the most suitable for the pattern I used, though a pain to work with. I didn’t have time to make the jacket to go with it, so used a RTW waterfall cardi I already had, in the right shade of pink. I’m glad to say I felt comfortable all night and had no problems going to the loo.


Murder Mystery

I can’t give you any details of content as these are repeated on a number of occasions until the new one in January.

What I will say is that we thoroughly enjoyed the whole weekend - everything about it. It initially seemed expensive but was well worth it. We had very late nights/early mornings on Friday night and Saturday night and chased a few red herrings before we finally came up with something pretty close to the solution with just a few minutes to spare before our solutions had to be submitted. The others, who had all attended last year, had succeeded in solving the problem so we had a lot to live up to. I’m glad to say that we did and successfully solved the crime.

Tiring but most enjoyable and we’d certailnly go back to another.

We had travelled by train via London and travelled back to London to meet with our other two daughters, son in law and grandchildren. We had a nice if fairly brief get together.

David and I stayed in London on Sunday night, though we really wished we had just arrnged to go home. Next day I re-visited the Balnciaga exhibition at the Vand A and took in Opera too.

A lovely weekend but we were glad to get home.

Monday, 13 November 2017

Bright Yellow Jeans for a Themed Event

A while ago, I made a pair of jeans for David using my own pattern, based on a Sure Fit Designs template but highly modified. These jeans were made in brushed denim in David's favourite green. He liked them and uses them a lot. However, when I decided to make David a pair of jeans for our upcoming Murder Mystery Weekend, I decided against using my original pattern. I couldn't immediately find it, also I wasn't happy with the zip insertion as the zip was almost exposed at the bottom of the fly (David asked me to change this so that the zip would be properly covered) and I wanted something easier - just a pattern to follow!


With that in mind, I decided to use Kwik Sew K3504. My fabric is bright in-your-face yellow. I had previously bought this chino fabric to make cargo pants for one of my sons in law who likes bright colours, at the suggestion of my daughter, but he wasn't keen. It comes in handy for the 'colourful' theme coming up. The fabric was prewashed etc.

I didn't make a toile as I didn't have time. I had previously considered that David would be a medium - he's pretty standard in RTW and doesn't have much bother buying clothes. However, the medium measurements were potentially a little small at waist and upper hip. David likes his jeans high (Dad's jeans I think they're referred to?) so I added to the crotch depth.  I also lengthened legs  by 1". I cut out in size large and basted the whole thing together. David was happy with height, waist and upper hip but they were too big from that point down and had a kind of jodhpur thigh. I took apart and replaced on the pattern and cut out medium from pocket height down but left large above that. I think the finished jeans still show a bit of bulge so I would further alter that.

We had decided to put some machine embroidery on these jeans. We compromised on just one Celtic design on each back pocket. I had treated the pocket as a practice piece and the resultant embroidery needed tweaked but David said they were fine so I went ahead and used them as they were.

The jeans came together pretty well - I don't have photos as I was in a hurry. However, I did have a bit of difficulty with the fly instructions as there was no photo - I was told to sew on one side but I didn't know what side! I have some problems when I'm trying to work these kind of things out. Fortunately Dan at sewing bee helped me out. (I attended Dan’s jeans class a couple of years ago) She didn't like the instructions and prefers her own but I must say I do like these as I think the result is better. Because I had lengthened the crotch depth I needed a different zip length, so treated the zip placement in the usual fashion rather than leaving a chunk at the top to cut off as per instructions - I was using a metal zip so didn't fancy that.

My front pocket linings are simply overlocked (as per instructions) rather than French seamed (as taught in my jeans class) but they're fine. I used white cotton for these. Oh, and David didn't want a coin pocket.

No major issues, as I said. I did have to recut the waistband as I accidentally put a hole in it - fortunately I had enough fabric. David said just to patch and use but I drew the line at that.

My seams were sewn, then overlocked together, pressed to one side and stitched on right side with two rows of stitching.The top stitching was rather enjoyable. Not contrast thread. The only slight issue I had was when using two different machines (class and home) - were the stitch lengths the same? Also remembering what settings I had used!

When David tried on, he was happy but they were too long - I had to shorten by 2”. Remember I had lengthened by 1” going on finished measurement of 32”; he asked for 33” but they've ended up 31”, actually less than that as the hem is bigger. I did rewash before hemming.

The pattern uses bar tacks rather than rivets and I could've sewn these better.

The very last thing was the buttonhole and boy I struggled. The large automatic buttonhole foot just couldn't cope with the fabric unevenness - the pattern doesn't have you trim the seams at trouser/waistband junction. I tried a few times and had to unpick. I got worried about the fabric and tried without a dedicated foot but failed. I was going to buy the original small buttonhole foot used for manual buttonholes when I realised I should use my vintage Bernina. I read the instructions, tried out a few times and Hey Presto! a satisfactory buttonhole. Sewed on button (David didn't want a jeans button here) and finished!

Now I think the jeans look good for the purpose intended. I'd use proper denim for proper jeans. This fabric creases too readily. I don't like the fit at the back and would try to change that. The pattern doesn't have you interface the waistband but I think needs it and I would certainly interface next time.

David says he's likely to wear them beyond just the themed weekend.

Wait 'til you see the tee shirt!!
I have lots to do for the weekend (outfits for me too!) so a quick post

Sunday, 15 October 2017

Making a Chanel-type jacket day 2

In progress
Following my last class, my tasks were to quilt the lining to the fabric/interfacing combo. Purists will realise that a 'proper' Chanel jacket doesn't have any interfacing but the interfacing here was ultra soft and lovely and probably helped me handle the fabric. To quilt, I did large herring bone basting stitching across the pieces, to secure them together. I originally tried pins down the lines of my stitching. These nicely marked the lines and secured the fabric but a couple caught the fabric so I ended up not going that way.
The pins here show where the stitching is going to go

Each piece was quilted with a line of stitching from the right side of the fabric, starting in the middle of each piece and ensuring the combo lay smoothly. I had a suitable pattern to follow. Each line of stitching is finished at least 1" from the sides and 3" from the hem. The process is not difficult, I was glad to find. You can, by the way, handstitch the quilting but that's not for me. In my case, I had to reduce the machine thread tension - and now think I could perhaps have reduced it a bit more. In my practice piece, I used a piece of fabric that had inadvertently been fused with interfacing on the 'wrong' side and the quilting lines are completely invisible. That's not the case with the other side of the fabric but at least my lines are even! My fabric could be used either way. I actually preferred the side I've used as the wrong side but Gillian pointed out that it would be particularly prone to getting caught so I took her advice and used the other.


So the pieces quilted were - fronts x 2, side fronts x 2, back x1, undersleeve x 2 and sleeve x 2. I did make a new back piece as when I looked at the piece I had, it was skewed. I only found this when I went to start the quilting. So I made up a new pattern piece the full back piece (the original has you cut on the fold by whatever means you choose to interpret that - mine was not on the fold, but flipped over on a single layer of fabric). It might have been okay but I had enough fabric to redo so that's what I did.
The underlying pattern shows the discrepancy
Better focus than the previous one

The stitching lines from the quilting were left with long threads at the end. These were pulled through to the inside of the sandwich and we tied them off. My lines were too close to the ends, particularly as there were a number of adjustments carried out in my fitting so these will have to be retied. It's important not to tie the ends too tightly, or that causes a dimple on the right side of the fabric. My ends are much shorter now so that will be a challenge!

After the quilting, I had to baste the jacket together for the final fitting. The fashion fabric is sewn together, but the lining left free. I used a big stitch on my sewing machine for this. Margaret hand basted. We roughly inserted one sleeve only.

On the way to staying with Margaret prior to the second class, I made another attempt to get suitable chain for the jacket and was partially successful. I had ordered some on-line but it was much too fine.
On Friday night, Margaret and I sat finalising our homework. Of course, we each tried our partially completed jackets to see what we thought. I thought Margaret needed quite a whack taken in at the shoulder princess seams as the shoulders were much too wide and the sleeve was lying strangely at the top. Margaret had also allowed extra for her hips but this wasn't necessary. I thought mine was too tight in the sleeves.

Day 2
When I was making up my jacket, I had taken in at the princess seams on the shoulder, tapering downwards towards the bust apex in front, as recommended previously but in fact, I needed even more as the shoulders were still too wide. Still - no alteration to the armscye! Lesson learned. There was even more taken out over the back - the original curve there is now much straighter.  Just under the arms on the side seams was also taken in, only for a short way.
Jacket basted, one sleeve roughly basted in

Right shoulder and back pinned (you can see in mirror)

I addition, my right shoulder required fabric to be removed from the neckline. This shoulder also needed to be shortened by taking in another portion at the princess seams. The left shoulder didn't require this. Yes, my shoulders are wonky!
Gillian pinning changes. You can just see the alteration to the neckline edge of my right shoulder
To my surprise, I didn't need to use the extra seam allowance sewn to increase hip width.

The jacket looked and felt much better.

I spent AGES, far too long, making the adjustments necessary - this because the patterns needed to be matched. The first time around, I hadn't been too worried about 'perfection' as I knew adjustments would be needed, but this time, things had to be right. It was tough, particularly over the curved bust area where there is both easing and pattern matching to be achieved. Also, I had to unpick lines of quilting as these now interfered with my adjustments.

Adjustments made. Pinned on centre front. Not pressed yet. No sleeves yet.
Next step was to trim any excess fabric from the seam allowances and insert the sleeves. Time was actually rather short so we trimmed just enough to finish sewing the shoulders and insert the sleeves. The jacket got a good pressing before this - apparently the last opportunity!

Gillian was happy with my jacket so far.
None of the hems done as yet so lots of raw edges and loose threads

She showed us the next stages.
  • Taping the neckline.
  • Folding up the hem and inserting the curtain chain weight.
  • Margaret is doing buttons so she had a facing and will need to do buttonholes. She is planning to do machine buttonholes. I have no facing as my lining goes right to the edge. I think Margaret is also planning to insert flange piping between her lining and facing. That looks rather nice.
  • How to sew the ling beautifully, by hand. Margaret got to start hers but I'm quite a bit away from that as yet.
  • How to add braid to the jacket edges. I was going to add braid but Gillian showed me how to fringe the fabric and I decided I'll go with that. Basically a strip of lining, two strips of fabric laid over it, sewn longitudinally down the middle. Then lining folded away from fabric (this is sewn to jacket fabric on right side on seam allowance for front) and fabric fringed by removing the warp threads. My sleeves ended up a bit short so I have decided that this is a suitable fix - fringe added to the sleeve cuffs.
  • How to do a mock welt pocket. Not a working pocket, which neither of us wanted. I need to decide whether to do a button or a fringe trim to match the front I'm planning

·        You'll realise that I'm not intending to do 'couture'

Since getting home, I have decided again that the sleeves are a bit tight. I had originally thought that perhaps after trimming the allowances etc they would be fine but I'm thinking not so best to do this now. I'll add just a touch at the two seams - even 1/8" would add a total of 1/2".

I don't think the finishing touches are difficult to do - fitting is clearly the biggest issue - but they are time consuming. I'm short of time at the moment so will probably do what I need to do a very little at a time and it will be a while before I can model the finished jacket.

I haven't yet made the amendments to the pattern for future reference but will do that soon, maybe today, before I forget what they all were!


I made the long jacket version but the length is fine for me as a shorter version and to do the long version with buttons, I'll need to lengthen the pattern by at least 2".  I'll also lengthen the sleeves.

Monday, 9 October 2017

Making a Chanel-type tweed jacket. Day 1

Margaret asked me if I'd like to go to a class in Leeds, at the Yorkshire School of Sewing, making a Chanel jacket, as I'd previously expressed an interest when we met in Dewsbury. Of course I would! Two separate days, with homework in between. Margaret offered to let me stay with her the night before each class which sealed the deal!

Margaret has already done a blog post following the first session, so I'm keeping this brief.


I originally planned shorter length, longer sleeves, no buttons and welt pockets.
We had a number of supplies to buy before the class. The pattern. Vogue 7975.
Fabric. Interfacing. Trim. Thread. Buttons. Chain. We had to make a toile of the jacket basic pieces to take with us.


My time was cut short a bit as my mother is in hospital but I had managed a toile suitable to take before she was admitted.


I made a toile using Swedish tracing paper and found that I could hardly move my arm up. I was surprised at this as I thought Chanel jackets were cut high under the armhole to facilitate movement. The whole shoulder shape was off, I thought. (I've changed my mind since but that's another post maybe)

Alongside this I had been making up a Grainline Morris blazer and had what I thought was a similar problem. With that my tutor suggested I add fabric to the underside of the sleeve and to the body of the blazer which helped (I have posted about this and am far from happy with the outcome so this was not probably the correct alteration to try). I decided to try the same here and initially thought that worked well. I added approx  1” to the underarm and to the side body. This of course made the armhole too small so I had to extend that upwards. More was needed at the outside than the inside. The end result was a greater distance between shoulder and apex which was good for my 5’11” frame, I thought, but there was quite an alteration/distortion of the armhole/sleeve which I tried to balance again and an alteration/distortion of the distribution of fabric around the shoulder area. A lot of changes. Second toile in calico this time. Unfortunately I wasn't able to get professional tutor help with the fitting of the toile as I haven't been able to get to classes.


There was no change to biceps width. No other changes to length. I made up the short version. I thought the body is a little short, perhaps by ½” apex to waist and by 1½” waist to hem but I didn't adjust due to lack of time. It's not bad and the first thing in the class is adjustment of the toile. So it's ready for better or worse.


I should say I traced the pattern so I haven't altered the original pattern.


Fabric - I had some choices in my stash. I'd been asked to supply 1.5 metres or 2 metres if a larger pattern match. As I'm both a larger size and a longer length I felt that my Linton tweed pieces were too short at around the 1.5 metres length. I did have a piece of Avoca fabric from Fabworks and bought a piece of bouclé from them at GBSB Live last week. Both long enough. The first is navy and silver (better for my colouring) The second black and cobalt. I'll take them both.


A piece of Linton tweed but probably not enough. I like the colours here.
Another option for later
Originally I planned to use the navy and silver fabric and really wanted to trim the jacket in leather. I visited Le Prevo Leather, which is only a couple of miles from my house, for the first time, and bought some beautifully soft fine navy leather. I don't know if it will be suitable so I decided to get some trim too to give me a choice.


Margaret and I went to Fine Fabrics of Harrogate and bought lining fabric and interfacing (though unfortunately not quite enough of either). We bought some trim and some buttons in Duttons for Buttons - and I bought some more in Bonds of Farsley which I had never visited (or heard of) previously. Originally I hadn't planned to make a version with buttons but the class instructions mention buttons so I thought I'd get them. Lovely buttons.


Tomorrow is the first of the two classes. Everything is ready. Margaret and I both hope to make two jackets alongside each other. I think one of mine will be short no buttons and the other longer with buttons. Both will have long sleeves as I don't like jackets with ¾ sleeves.


Day 1


I was somewhat apprehensive, despite having briefly met Gillian the day before in Harrogate.


Gillian wasn't happy with my toile. She felt my adjustments had knocked the fit off and there was far too much fabric at the back, in the wrong place. The neck and shoulders didn't lie properly. The back neck fell back.The shoulder seams were uneven. The sleeves didn't lie or hang properly. I agree that this was the case. She feels that armhole/sleeve adjustments should be the last to be tried due to the complexity and that there is often another way of solving a problem. In addition, she didn't feel this pattern had major issues with this area. Basically I had created unnecessary problems. She asked me to cut out an unaltered version from the pattern tissue - fortunately this was still as per original. Fortunately too there were only two of us and Gillian was able to help me try to catch up with Margaret who was charging ahead.


So new toile. Still calico. Original size. Long length this time. Gillian thought this might be a little big for me but we agreed I should cut the size for my bust (42” full bust so a size 20 - other times I might cut according to my high bust 40” size 18 and make a FBA as I am a DD cup despite just 2” difference). The fit around the back was much better. The shoulders were still too wide. When taken in at the Princess seam, this narrowed the shoulder and worked well and the sleeve also felt much more comfortable. Clearly this should have been my first adjustment not going in big time to the adjustments I made! It didn't need a FBA. Waist position fine. So I was going to be cutting out an unaltered version in fashion fabric!  I think that's a first!


I went with the navy and silver grey fabric which has a stripe pattern - matching required! Gillian showed me how to match properly. She did quite a bit (a lot!) for me to try to keep me up with Margaret.


Then beautiful soft interfacing was fused onto the back of the fabric pieces, ensuring they kept the original pattern shape. As I mentioned earlier, Fine Fabrics ran out of the interfacing we wanted so we ended up piecing and using different interfacings which again slowed down the process.


The edge of the fabric/interfacing was machine basted. That was an easy bit!


The fabric is navy and silver grey - I can't get a good colour on screen
Then the lining was cut out (I hadn't completed this at the end of the class). This will be tacked to the fabric/interfacing using large herringbone stitches. Then the bundle is machine quilted using lines of stitching approximately 1” apart and stopping at least that from the sides and 3” from the hem. I was able to test out stitch length, tension, colour before we left.

Testing quilting - reverse side
The quilting is invisible from the right side.


Reverse - ready for quilting
So I have quite a bit of homework before we meet again! As I cut out the longer length, I'd like it to have buttons but this means I also have to cut out facing pieces which I didn't do so I need to see what is sensible to try to achieve. I can't do any while I am in Scotland visiting my mum. I should manage some this weekend though. I need to as the next session is the following Saturday (thank goodness we had an extra week between sessions!!)

Fabric ready for quilting
Margaret has already posted a blog post here and I think is still hoping to do two jackets. I'll be happy with one.
Machine quilting the fabric

Grainline Morris blazer - 'finished' and abandoned

I can't remember if I posted anything about the Grainline Morris blazer I was making. I haven't been posting for ages and my memory isn't that good! I started this blazer months ago, perhaps a full year ago or more!  So to briefly recap:
  • I followed instructions to do a FBA. This meant that my final blazer would have a dart whereas the original did not. Grainline is for a smaller cup size
  • I made up a toile but the fabric wasn't suitable so this wasn't very helpful. However, I needed a bit extra in the biceps area.
  • I lengthened the jacket length (though it turned out by too much)
  • I thought I had found suitable fabric and started to make the blazer. However the armholes and sleeves were far from right. I modified these as per tutor advice. I added to side seams under arms on bodice and sleeve and the sleeve cap was narrowed. I was fitted with it on.
  • Using the alterations suggested,  I started to make the blazer again and this time a bit shorter though still longer than the original. The fit wasn't bad, I thought.

I quickly realised I had a few problems. I loved the colour of my fabric but the fabric itself was spongy and really quite nasty,  clicking too readily - and clinging so that it wouldn't be possible to wear it over any kind of sleeve. I originally thought it was a ponte but it's actually a rather cheap scuba. It was difficult though not impossible to press and neither sewing machine (despite trying different needles etc) nor overlocker liked it.

I had to make up new facings because of my adjustments but that wasn't a great problem though I could certainly improve on what I achieved, particularly at the junction of hem and fronts.

So today I was ready to complete the blazer. The outer part was sewn and sleeves were set in.  Facings were attached apart from sleeve facings which I did today. I didn't like it. Colour lovely but the jacket dragged as I put it on to try it. I feel it needs a lining. That's the fabric rather than the style though I think.

Nevertheless I decided to finish but I made a mistake. The original instructions have you understitch the hem only. The front and collar are pressed so that the junction with the facing is at the edge and then the jacket is topstitched. As my fabric was so springy I decided to understitch the lot. I trimmed and graded all the seams and understitched. However I forgot to change the understitching to the other side at the collar break. I didn't even realise until it was pointed out. As it was going to be difficult to remove the stitching and as there were already a couple of nasty clicks very visible on the collar, I quickly decided this was another toile! You may see this on the photos. I'm not taking any specifically to show this.

I did some quick and dirty topstitching which certainly wouldn't have been satisfactory on a proper garment. I was using a class machine and I'm sure the wrong needle. My stitching was short,  long,  skipping. A mess.

I ‘finished’ the jacket.
But:
  • Wrong fabric
  • Difficult to judge fit as clings to shoulder area and sits lopsided
  • I need to improve how facings are attached to jacket at free edge.
  • i think its too wide at shoulders
  • I need to follow instructions or get my modification to instructions correct!

As well as quick and dirty topstitching, the jacket has quick and dirty pressing!

Too wide at the shoulders is the least of the problems


The blazer might be satisfactory in a different fabric. It needs more body. It's for stable stretch.  I'm thinking maybe boiled wool. Anyway, this is a summer jacket really. I'm not thinking of redoing it for now as I have a host of other projects on the go all of which are now more urgent than this one -  posts to come. Briefly: Chanel-type jacket quilting (for Saturday coming), costumes x4 for murder mystery weekend and silk dress for Helen for birthday all by end of November. Wish me luck! This jacket is back at the end of the queue; there are other UFOs in it too.

Sunday, 6 August 2017

I love my Nettie bodysuit!

I'm pretty late to the game with the Nettie bodysuit by Closet Case Patterns - a pattern I seem to have had for ever! However, I finally took the plunge. I decided on this pattern as my project in my sewing with stretch fabrics class at Centre Front Studio, which has just finished. Other items sewn in class were pretty panties with lace waistband and lace edges round the legs, a Lycra leotard pant, a simple tee and of course several practice samples.


I downloaded the Nettie pattern and printed and stuck together with no issues, though this will never be one of my favourite pastimes! I also downloaded the sew-a-long. The pattern comes as a bodysuit and a dress (very short indeed for me!!) with sleeve and neckline  variations. I decided to make the bodysuit with long sleeves and high back and front necklines. I decided against the bra insert for my first bodysuit (there will be more!). I had the pattern in my stash for a long time and I noticed that the sizing had changed slightly after a certain date - trouble is I had no idea when I actually bought mine though I thought it was probably before the date given. I therefore decided to make the bodysuit using the  larger allowances on the basis that I could always take in if required. I made up to the size given for my measurements and it was just perfect! I won't need to change this for the next bodysuit, unless of course I use a fabric with less stretch.


As I’m 5” taller than the person the pattern was designed for, I increased the pattern length - but later had to shorten it again after making a toile. I ended up with the front longer than the original for my size but tapered to no increase at the sides and the back a little shorter in the centre, to accommodate my very curved back (a bit like a sway back I suppose), tapering to no reduction at the sides. These are not unusual changes for me but I was surprised at how long the pattern was. In addition, my tutor suggested adding quite a bit extra fabric to the back of the bodysuit at the bottom to provide more coverage there as the bodysuit narrowed quite quickly. I also had to lengthen the crotch extensions (?) - the sections that fasten between the legs. My lower torso is very long, however. I'm long from shoulder to bust, short from bust to waist due to a high waist and very long from waist down.


I mentioned that this was my class project, which I was doing in class, so I followed my tutor’s instructions rather than the sew-a-long instructions (which were very good). This meant that I sewed things in a different order and used different techniques. The main difference was to the finish at armhole and legs. Oh, and I then decided to miss out the sleeves as I thought the fabric pattern was too much to have sleeves as well - and I reckoned that as I’ve had so many sleeve problems recently I’d leave them off! So I had to finish the armhole edges too. My tutor recommended the same technique for all of these. I cut a binding, on the cross grain, the stretchiest direction, and attached this on the round to the neckline by sewing right sides together. Once I was happy with the length and stretch etc, I overlocked the edge with a wide stitch. This overlock stitch was then used as a guide to fold over the fabric to the inside where I pinned it. The edge was not turned in (almost a little like a Hong Kong finish at this point). I then used a zigzag stitch on top of the binding, the bottom edge of the zigzag stitch just touching the junction between binding and bodysuit. My stitching may not be perfect but it’s fine. Then the excess fabric in the inside was trimmed away - I got to use my nice sharp duck bill applique scissors for this. The armholes got exactly the same. The legs were slightly different as they were sewn open but also because they required different amounts of stretch at different bits of the leg. There is no elastic in any of these but the fabric is beautifully stretchy. I don’t have a coverstitch machine so that didn’t come into the equation.


I started writing this before I had quite finished the bodysuit - I still had to put the fastenings at the crotch. As I used high neck front and back, I didn't get away with just sewing a seam here though i did try! Having looked at the various options, I hoped to use a bra fastening - I didn’t have one handy which is why it took so long to be finished. I had to slightly modify the crotch extensions as one was wider than the other, so I unpicked and narrowed that one. I couldn't get a suitable bra fastener - I needed one with 3 hooks and eyes and I could only find 2 locally - too narrow. I tried corset fastening but that didn't work for me. In the end I used fabric extensions. I tried to use poppets (the kind you hammer in) but that didn't work either and in the end I resorted to hand sewing on poppets, which I preferred to hooks and eyes. It has worked okay but next time, I would slightly shorten the crotch extensions and I feel there is a bit of looseness.


I love this bodysuit and will make more. Perhaps with long sleeves as I originally intended next time. I love the height of the neckline so will probably stick to that but I won’t be making the dress. I think I would cut away the front legs a bit too.


In the class I was also making a simple top from stretch jersey, using a commercial block. This wasn’t really very successful - I didn’t like the fit and was going to have to make lot of changes. I wasn't inspired. The Nettie was a much better fit and Rory, my tutor, suggested that all I needed to do was to shorten the Nettie pattern and I’d have the pattern for a perfectly fitting tee. I may need a little extra ease if I use a less stretchy and more medium weight fabric. So that’s also in my plans.

Rory, btw, doesn’t feel I should have abandoned my Cashmerette Concord tee (also taken to class) so that has been resuscitated and is only nearly dead! I have a couple of changes to make but am doing so to the tee I made rather than starting again. The fabric is nice and if I can manage to salvage something that will be a bonus. I was having big issues with the sleeves - but it seems that may be salvageable. I had considered a sleeveless version but the armholes are too baggy for that. Sleeve problems have haunted me for months now - you’d have thought I’d have sorted this but regrettably not.


How Do You Read Blogs?

It's a while since I've posted a blog,  lots of reasons. I'm thinking of starting again. However,  I used to read the blogs I fo...