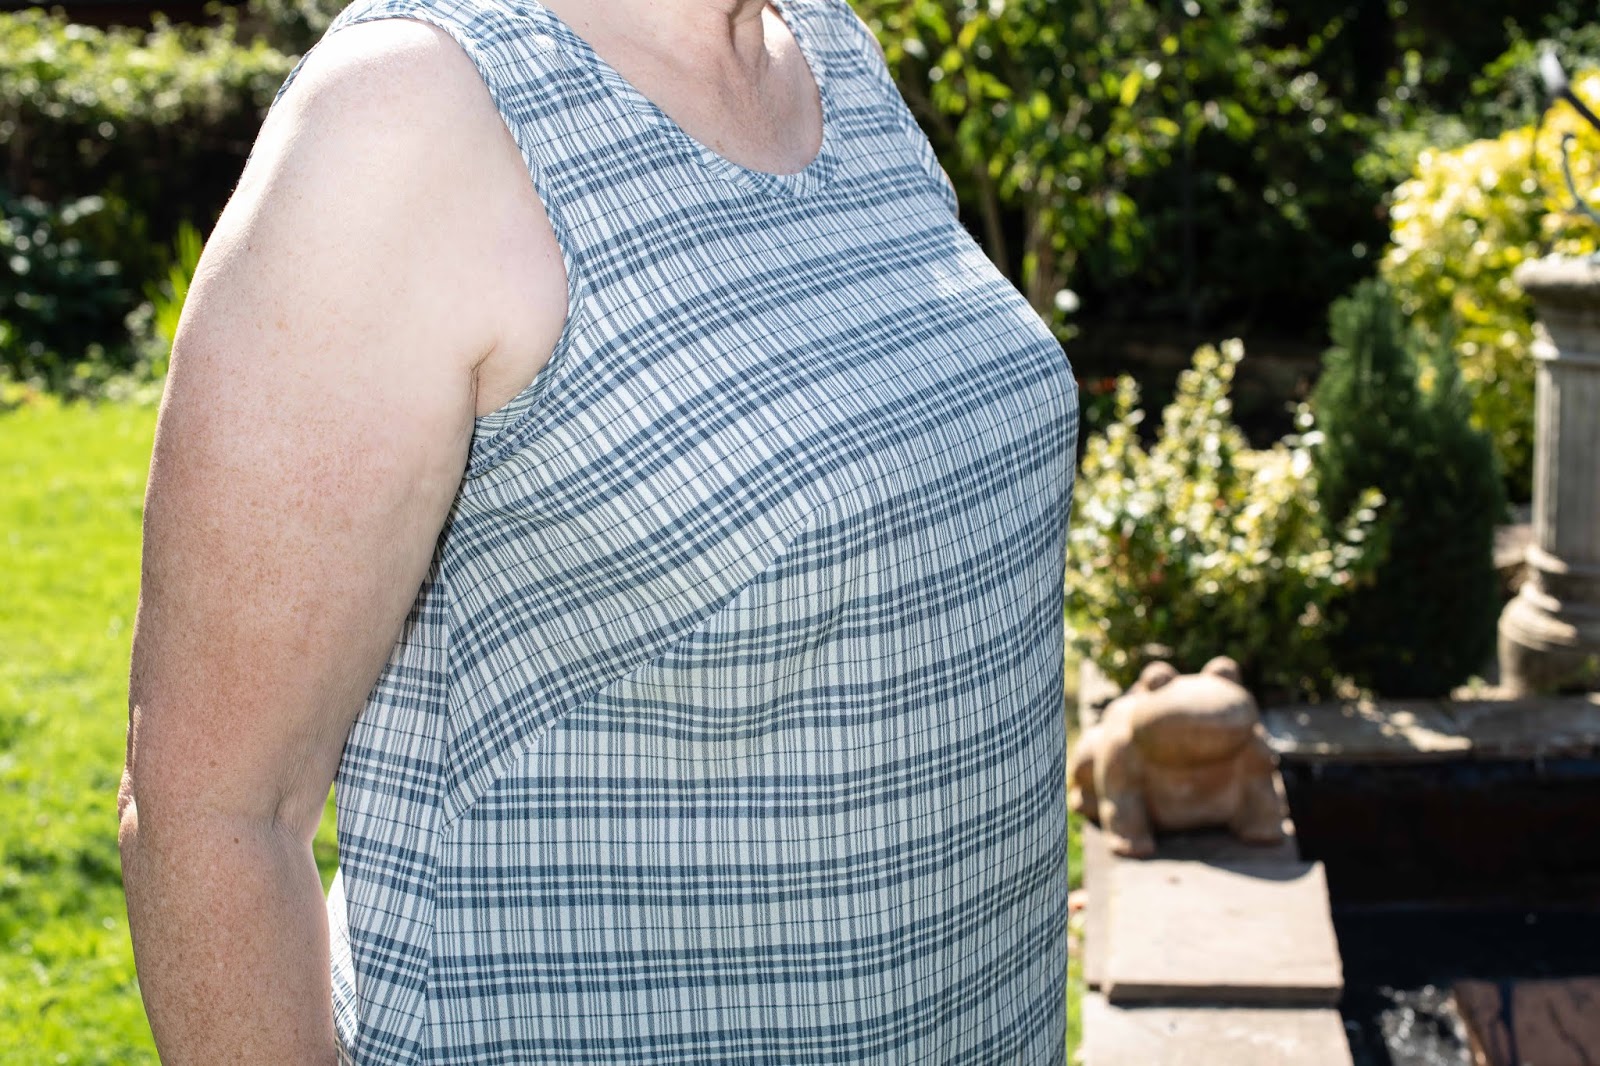
I received McCall's 7575 ‘free’ in my sewing magazine. This
pattern was useful to me but I am going to cancel magazine subscriptions when I
am able to as so many I receive are not useful to me usually for style but
often for size too. This pattern contains all sizes 8 - 24.
 |
| On the envelope, the button band appears to be pulled apart at the bust. I don't know if you can make this out from the image here. I like the floral view D with the mandarin collar and the checked view A with standard collar |
 |
| I like views A and D both of which have the longer shaped hem. |
Anyway, this pattern was a Palmer Pletsch tissue fitting pattern,
so I decided to have a go at tissue fitting. I have tried before but didn’t
manage and didn’t like the process. This time, I had a specific pattern,
specific instructions and the latest edition of Fit for Real People - actually
called ‘The Palmer/Pletsch Complete Guide to Fitting’. The book is similar in
feel to the previous version but more comprehensive. There are chunks repeated
from the previous one. It’s more than simply a new edition.
 |
| I think the cover looks a bit old-fashioned, or retro? It's not bad but does concentrate on tissue fitting. |
I went back to Thursday sewing for the new term on Thursday
13th and asked Lyn to help me tissue fit this pattern. I believe it is possible
on your own but didn’t think it would be very easy. Lyn agreed.
I chose my size as suggested. I asked Lyn to take my high
bust measurement as specified in the instructions - that is, the tape is NOT
parallel to the floor, but also includes the shoulder blades. Lyn looked at the
instructions and measured me as 41” (we did in in inches rather than our more
usual centimetres as that’s easier with these patterns). That was in-between
the full bust size of the 18 and 20 so I chose the 18, the smaller of the two
sizes, as specified. My full bust is 43” - so by the traditional way of
working this out, I’d be a B cup, just as the pattern is written for and
wouldn’t need to alter. However, my bra size is 36DD - E, depending on brand so I certainly need to do a FBA. I think my back is
relatively narrow - most of my circumference is at the front.
I carefully taped up the seam (and pin) lines so they
wouldn’t rip, pinned band to front, back to front, darts and shoulders together
and tried on the pattern, cut out in a straight 18 as instructed. Now, I am
5’11”, a 36DD bra size and with large hips and derriere (probably more like a
size 24) - so if this had fitted
straight off that would have been remarkable. Not surprisingly, it didn’t. It’s
quite difficult to pull the pattern as firmly as they recommend but we tried.
Lyn said my armscye needed dropped a smidgen. My dart
points were not in the correct place and the waistline was too high. Strangely,
the front met my mid-line at the boobs, just, but I wasn’t convinced about this
as I felt the pinning of the band was a bit insecure, allowing there to seem to
be more room.
I don't have any photos from the sewing bee as it's just too awkward to do.
I dropped the armscye by ¼” back and front. I undertook a
full bust adjustment of 1” using the Y method (but having since received my
Threads magazine, I like that method better as you basically ignore the
original marked bust point on the pattern).
At least, I started using the Y method, but it ended up more like the
usual.

One of the advantages of doing a FBA is that this would add a little in
the hip area where I would surely need it as my body is A/8 shaped. Again, the
instructions suggest that you do the FBA and then determine whether you need
the dart position altered as the FBA drops the apex position. So many different
steps. After the FBA, I dropped the dart by the amount measured. The point
hadn’t dropped much at all.

After the lengthening process and the FBA, I had to redraw
the position of one of the legs of the front vertical dart as the cutting line
goes right up through the centre of the dart.
In addition, I dropped the waistline by 1” at the front
(only). I altered the front band to match, increasing its length in 3 places -
where I had lowered armscye (¼”), where I had dropped waistline (1”) and where
I had lowered front for FBA (½”)
Where I deviate from the method
I went to Ikea to buy some calico for a toile as I really
wasn’t feeling this tissue method and it’s quite difficult to get fitted in
class as we have a male attending - and the toilet is far from a suitable
place. I would need to have several fittings, altering certain bits each time.
The class wouldn’t really be the place for that as others, of course, need
tutor input. So, I decided I would make a full body version in calico rather
than the half body you get with tissue. I also feared that as I am somewhat
asymmetrical that I’d have to do this anyway though the method misses out the
toile stage completely. I don't fancy faffing around with my real fabric when I
get to it. Obviously, by doing a toile in calico, I am no longer following the
method.
First, I checked the pattern pieces I had to ensure they
matched each other. I realised that having lowered waist in front but not
having done the same at the back created a problem. I felt I should have done a
wedge-shaped alteration rather than a parallel inset and Lyn confirmed this. I
therefore reduced the 1” insert to ½” at the side seam but kept the 1” insert
at the centre I then added a new wedge to the back, ½” at the side seam and
tapering to zero at the centre. The front and back side seams now fitted
perfectly together.
This created a wonky centre line on the bodice piece and I
had to straighten this by taking the extra off in the middle area. Lyn pointed
out that my suggestion of just drawing the line straight and therefore adding
at the hip line would not work as this would mean that the band would be at an
angle. Likewise, the top part could not be adjusted. The amount taken off was
larger than either of us expected, and Lyn felt I might need to add that on
again at the side seam. As I was using 1” in-case seam allowances, I felt I
didn’t need to do anything at that stage. But see later!
I also asked Lyn to measure my biceps and determined that I
needed a 1.5” increase in the sleeve circumference. This blouse has a two-piece
sleeve so that allows more room for manoeuvre. I previously determined that
when I do full biceps adjustments that the sleeve head becomes too wide - I
just don’t need extra there. In addition, I usually require extra sleeve cap
height. This makes my sleeve head longer and skinnier. Having adjusted the
sleeve cap height, I decided that I didn’t want to further impact that by
involving that in a biceps adjustment. Lyn therefore suggested that the easiest
method would simply be to cut a bigger size for the arms. I realised that this
would mean increasing the bodice armscye, but I was going to be using 1” ‘in
case’ seam allowances at the side seams, as recommended.
I then cut out my pieces - sleeves, upper and lower; fronts;
front bands; back and back yoke (I didn’t make any adjustments to the upper
back as Lyn felt they fitted well.) Not
cuffs, collar etc yet. When cutting out, I manually added an extra allowance of
⅜” to the side seams by drawing them in on the calico, to give a total 1” seam
allowance.
I pinned the pieces together and realised I had just enough
time to machine baste together sewing darts on one side only and to give Lyn a
quick look (blouse over tee). I didn’t have time to insert the sleeves but
tried one on for size.
Conclusions from this hasty trying on (sorry no photos):
- The shoulders, back and neck fit well
- The bustline looks good
- The back dart needs lengthened upwards
- When sewing, there needs to be greater dart intake at my waist.
- The blouse is very tight at waist and hips - the 1” SA was inadequate even let out to its fullest. The instructions are clear not to pre-suppose that you need extra at the hips even though you probably do. This is for two reasons a) doing a FBA will increase the garment hip circumference and b) harking back to the original seam lines makes it clearer what needs to be done and allows even change.
- I need to add ⅜” at the waist and ¾” at the hip both back and front
- The sleeves are too loose but probably the correct length given that there is a cuff to be added to the final garment. I haven’t quite decided whether I will have the long-sleeved cuffed version but felt it was best to get the sleeve fitted in this style.
Although trying on over a tee is less than ideal, this is
the best I can expect in the circumstances.
Next steps:
When I arrived home from sewing bee, it was pouring, and I
didn’t want to get me or my sewing stuff wet. So I left it in the car. I
decided to start this post, working through what I needed to do next, instead of
working on the actual toile or pattern. However, when it stopped raining I took
the opportunity to bring my stuff inside.
I tried on the toile without the tee shirt, over my bra. I
was pretty pleased with the dart placement. I was less sure about the shoulders
as one side is unpicked and I can’t really judge, but the front seemed to be
pulling forward and the back neckline up towards my hair. I’ll review that later. I
don’t usually have to do a forward shoulder adjustment but wonder if that’s
what this is showing - but I’ll wait to assess. At the sides, it looked like a
very big gap was needed! Again, it was difficult to judge because as we all recognise,
it’s easier to make smaller than bigger.
I added an additional inch to each side seam on the
pattern and cut the sleeve down by one size at the armscyes only, leaving the
larger amount in place at the seam between upper and lower sleeve. The sleeves
are fine, but I decided I really need to try on a toile with more space at the
sides, so I plan to add extra fabric there to get a better idea of the exact
amount required and I’ll insert the sleeves to see if they work
It was too dark and miserable to get any photos. I didn't achieve any of me wearing tissue or toile at any stage.
 |
| Showing the extra added at the side seams. Not ideal, I know, but I thought this was the fastest means to the end |
I added a ‘chunk’ of fabric to the side seam of back and
front bodice of the blouse. I then sewed up again (long stitch) at the original
seam line and tried on. David helped me as I took the side seams apart to pin
in the right place. David is the first to admit that he doesn’t have much idea
about this and the amounts turned out very uneven. However, we both noted that
there was insufficient room in the bust area - the fabric was somewhat taut
across the front - the trampoline effect. I clearly needed more bust space. I
wondered if this was related to the front cutting line issue. Indeed, I noticed
that the front band seemed to be rather curved. I also wondered if it could be
related to just a straight piece of cloth being added at the side seams.
 |
| This is showing the markedly curved front band - it is completely unpicked at the sides so this is not due to it being tight. |
I laid out the paper pattern with its alterations and
noticed that it was less flat/more puckered than it should have been and that
the front cutting line was definitely not straight despite our previous
trimming. I decided in effect to re-do the FBA or at least, in part. I cut up
the line through the dart to the bust apex. And cut through the centre of the
bust dart to the apex. I then straightened the centre cutting line - this meant
that a large gap opened up from the hem to the apex and the insertion for length
was wedge shaped rather than parallel. I decided to move the side portion in to
the same distance as before - this left the bust dart wider - which I need.
 |
| Showing the original FBA and the extra from the modification |
I won’t need to alter the front band (though I need to check
that it is straight!) as the front seam length is unaltered. I noticed that
this was now a little longer than the centre portion but decided to redraw the
hem to compensate.
I noticed when trying on that the back neckline was climbing
up my neck (this hadn’t been the case in tissue) and that the shoulder seam
line was very far forward. In the past with other patterns, I’ve had to add
extra length to the front at the neckline, but not at the armhole, where the
shoulder seamline was relatively centred. So I added a wedge adjustment of ½”
at the neckline, tapering to zero at the armhole edge. I also added on a ⅜” in
case seam allowance. I subtracted the same amount from the back and again added
the ⅜” in case seam allowance. I believe this is in fact 'opposite' to what is required in a forward shoulder? I'm not sure how to describe this alteration. Yes I do know! One to suit my shoulder. Rory doesn't like terms like these - she says it makes people over conscious of their body 'flaws' rather than just fitting to suit their body. I hope I'm not misquoting her!
 |
| This shows the shortening of the back shoulder seam I lengthened the front shoulder seam by the same amount |
I also shortened the side bust dart as it appeared to be too
close to my apex on the toile. I realise that could change with the other
changes made to the pattern. I also thought the vertical dart was too long,
again too close to my apex.
I then drew the pattern onto pattern paper, adding the
average of the amounts David measured (I marked where the pins were) - this was
fairly close to what Lyn had suggested from the toile - and then added a
further ⅜” to give an ‘in-case’ amount for playing with.
I feel that there are enough changes here to merit another
toile. I haven’t tried the modified sleeve (I’ve only sewn one so far) in the
modified armhole yet.
I think I am not too far away from doing my blouse in
fabric. Overall, I’m pleased with my progress on this blouse. I need to decide
on fabric and which view I plan to make in it.
My conclusions re Tissue Fitting
I have come to some conclusions re tissue fitting:
Disadvantages
- The original tissue is used (tracing out and marking all the adjustment lines would take an age). I like to preserve the pattern in its original condition.
- Marking all the seam allowances and then taping up to those seam lines, in the seam allowance, is slow work.
- Once the tissue is cut - e.g. the neckline and armhole seam are snipped to the tape - it is more difficult to get a smooth line to cut around.
- You only work on half the body
- You have to try on, then change, then try on etc. Not feasible in the classroom situation.
- I feel that it would be more difficult to ‘preserve’ the pattern once cut.
- As shown by my inaccuracies, it is difficult, particularly in a very limited space to lay out, smooth, ensure the alterations are correct, pin on place and then tape as suggested.
- It means that if you are asymmetrical, buying 2 patterns (not feasible in the UK with the cost of patterns - although this one was ‘free’, to buy another is quite pricey. We don’t get the super sales there are in the US). This is one of the reasons I usually trace (not always) as I like to preserve the pattern in its original condition.
- After tissue fitting, it’s recommended that the fashion fabric is used to make the ‘final tweaks’ - while this might in any case be needed after making a toile as the fabric properties are different, I’m reluctant to work too much with the fashion fabric - I already make too many mistakes and have to unpick etc.
- So, overall, I found it slow, rather difficult, it fails to preserve the original pattern tissue - and I felt I needed to make a full body piece as I am a bit asymmetrical.
Advantages?
Hmmm. Perhaps as a quick overall check, this is fine.
Do you like tissue fitting?
I still like the book, though!
Wish me luck with the next (and most definitely final)
toile. I’ll be using a fabric closer to the fashion fabric as I realised that
this calico was a little thicker than ideal.