Thursday 30 July 2015

Butterick 5951 finished

I posted the other day asking for some advice on moving forward with this dress, but everyone it seems was too reticent to advise! So I had to decide myself, with the help of DH and after trying on. Overall, it was fine.
 
I decided to go ahead to the next stage with the dress and cut out the bodice lining. I didn’t use the fine cotton lining I had previously chosen - rather I decided on a rather classy silky lining which I thought would make the dress easier to care for and less likely to crush. This fabric was part of my haul from a fabric sale last year; a pretty high class garment manufacturer shut down a few years ago and the employees took over the stock, selling it off gradually until they had to get rid of it all as the storage space they used was needed for something else. So I don't know what this lining material is - it could even be silk, for all I know. It feels really lovely, much nicer than the lining material available to me in local fabric stores.
 
I had a decision to make about what  pattern version to use for the lining as I had modified the fabric after it was cut out (this was the biggest issue - in retrospect,  I'd have been better redoing). I cut out the lining and made up to the same stage as the bodice. I finished off the darts as instructed on both bodice and lining. The lining sewed together perfectly,  unlike the bodice fabric.
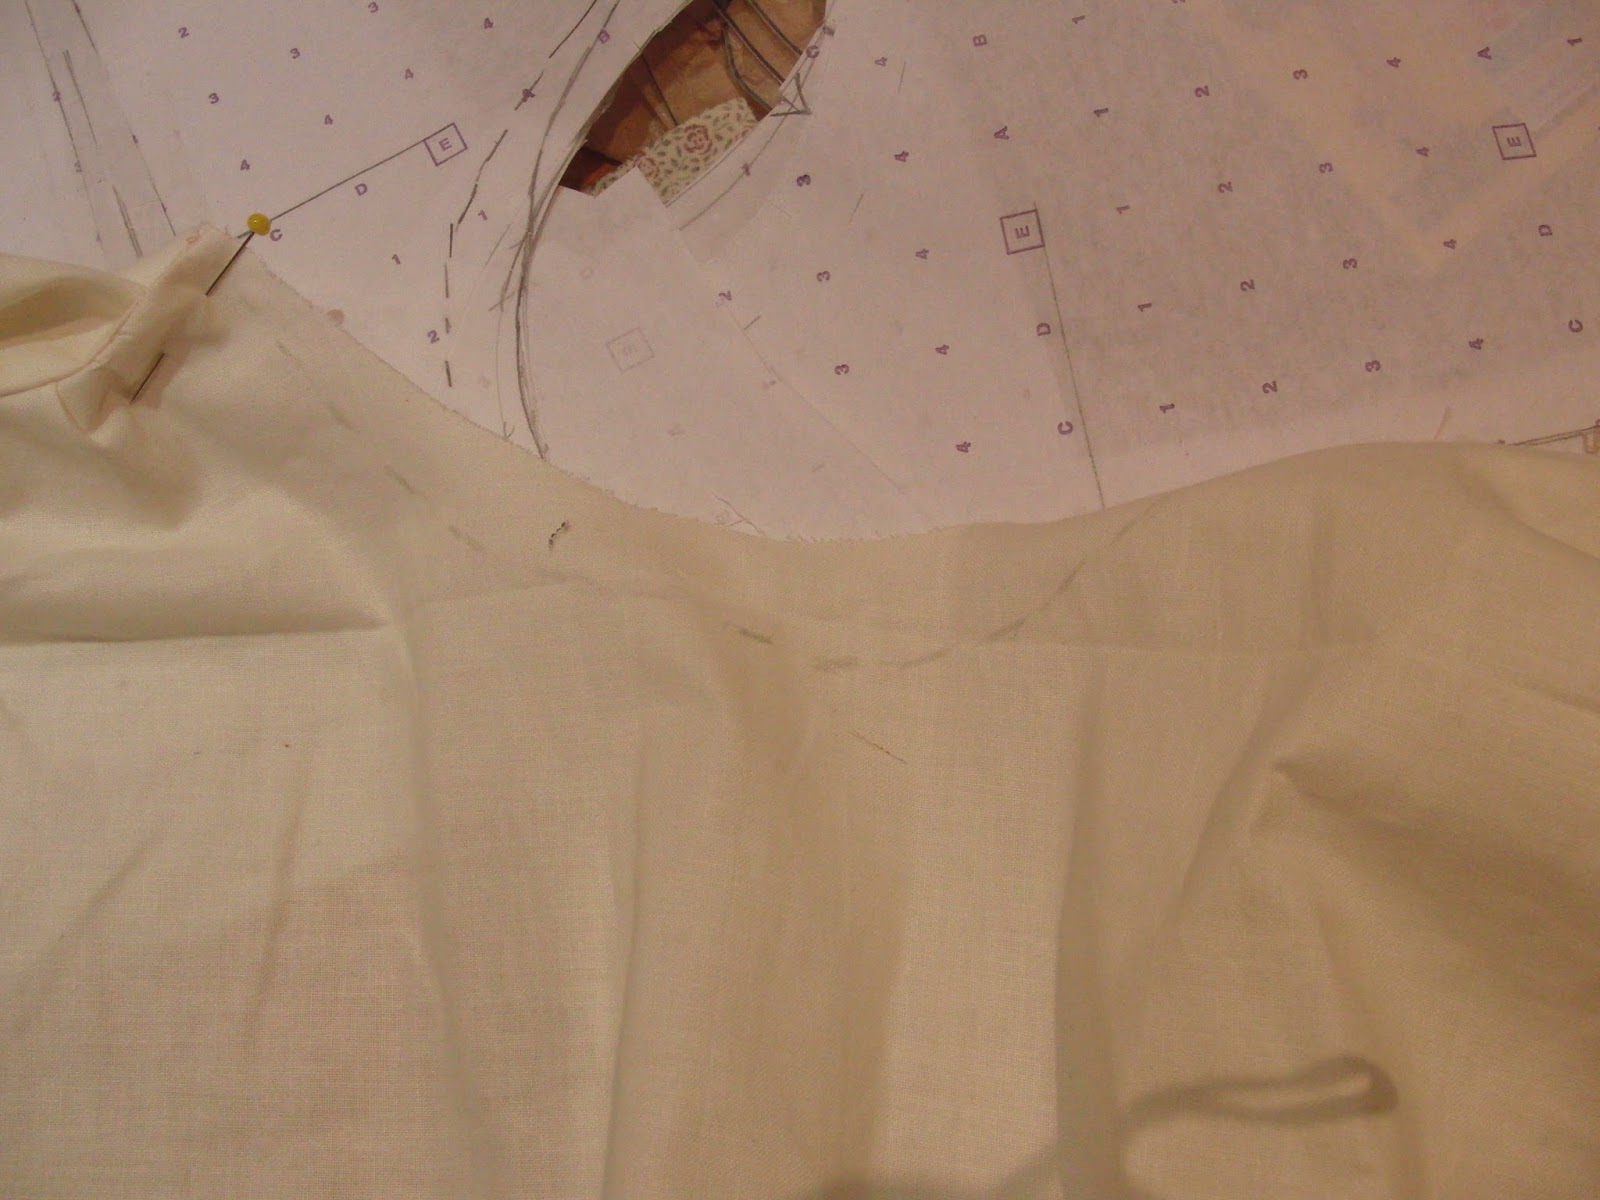
The dress, inside out, showing the lining from the front
 
The next stage was sewing lining to bodice, right sides together, at armholes and neck and understitching. Then turning through the shoulders (the sides are open at this stage). Then I pressed and felt everything was looking rather nice - at least as far as the workmanship is concerned. There's no doubt that a lined armhole looks better than one finished with bias tape, which I had briefly considered.
 
Then I sewed up the side seams, lining and bodice separately, and pressed. When I turned it back to the right side, it looked very nice.
 
However, on trying on, the side seams under the arm were still too floppy and large. I took the side seams out and re-did with a larger seam allowance tapering from under the arm to midway down the seam back to the normal seam allowance.
 
Then I had to sew the bodice to the skirt. Here I ran into my problem again. Because I altered the dress after it was cut out rather than altering the pattern properly and then cutting out,  I created a problem. There was excess fabric between the front dart and the side seam - it came together nicely elsewhere.  This excess meant that the folds running from the dart sloped down rather than lying horizontal. I couldn't take the dart out again as it had already been trimmed very close to the stitching.
 
Rather late in the day,  I also decided to add a skirt lining. I see from PR reviews of this pattern that many have.  The advantages are that waist seam is easier to cover and the skirt will hang better. It wasn't difficult to add.
 
I went to a summer sewing bee yesterday with my college tutors, who work together in a studio closer to my home than the college. R had helped me modify the pattern previously. She remembered it - a simple spread,  as she put it. It would have been simple if I had redone - the bodice and skirt linings came together beautifully - but it wasn't and I hadn't.
 
R got me to try the dress on. She thought it looked rather nice.  She recommended an increased gather into the dart but as mentioned earlier,  I couldn't do that. I spent most of the class trying to alter.  I took out the side seams and waist seams again and pulled the front across to the side seams and beyond and down to the waist seam and beyond. Eventually I cut off the excess fabric and sewed up the seams again. This makes the dress a little tighter at the waist. It could be taken in even more, as it is still rather loose. This sounds easy but it took me a few attempts. I did succeed in the end,  though.  The lining looks better - it was too late to wish I had recut the pattern.  
 
I then inserted an invisible zipper, without too much difficulty. The biggest issue was that I couldn't get a 24" invisible zip or a 22" ordinary zip from the shop I went to,  adjacent to the sewing bee.  I ended up salvaging the lovely 24" invisible zip I used on an earlier sheath dress that doesn't fit now (it shrunk and I didn't). The zip was a touch wavy and R advised me to steam it, which worked beautifully. 
 
At this stage,  I just had hand stitching left to do.  I pinned the lining over the zip ready to stitch and tacked up the hem ready to hand sew. I put it aside as it was late,  ready to pick up today.
My husband asked me to try it on to let him see it. This I did,  despite all the pins present from the pinning of lining to zip tape. Like me,  he doesn't like the fabric for me (it's too green,  not my colour and too  Liberty,  not surprising since it is Liberty,  but I've never been attracted to these prints,  though the feel of the fabric is lovely) and realised that I was continuing because of the techniques I was practising. I was attracted to this dress in the first place by the gathered darts. He thought it looked better on me than he had expected (I agreed)  but picked up that my waist seam wasn't level across the zip. I had noticed that after I had tacked the lining - despite pinning,  hand tacking then machine tacking, it had still slipped slightly - fortunately not obvious because of the pattern in the fabric! I make DH sound very critical - he isn't. He's very supportive of my sewing and will happily measure me,  pin me into things and take photos - and I have asked him to be brutally honest about what he sees.
 
I had no intentions of redoing the zip. So I decided I would try to sew the lining to the zipper tape by machine,  making sure I was far enough away from the teeth to allow free movement of the zip. I managed this with less difficulty than I expected and it was definitely faster than hand sewing and arguably stronger. I hadn't finished the edges of my fabrics, so hopefully this will also make frayed ends less likely to poke out. I think I could be a touch closer to the teeth - I sewed it at an offset from centre of '4' rather than the maximum possible '5' which would have brought it closer. It's fine,  though.
showing properly finished zip top
showing distance of folded lining, machine stitched to tape, from teeth
 
I then decided to topstitch the hem rather than hand sew. By now,  I just wanted the dress finished and it would have taken a while to do all that hand hemming. I had decided to continue with the dress but only give it a limited time,  then stop.
 
A few minor elements sorted and the dress was finished! A quick press, removal of missed threads and,  more seriously,  taking out part of the waist stitching and redoing as I had caught the seam allowance the wrong way,  twisting it so it wouldn't have been able to lie completely flat.
 
DH had also noticed that the lining was showing at the armhole on both sides. I previously thought my understitching was good,  now I'm not so sure!  I think part of the problem was that I had taken in that area further and resewn and the two sides were no longer in perfect alignment. I pressed again and put in a few hand stitches in the hope that will sort things out.
 
The dress isn't the most flattering I've tried -.the colour is wrong and the style not ideal. However,  it is wearable and I will wear it if we get any summer!
 
I learned a few new techniques:
  • Gathered darts (not sure what to call them)
  • Machine sewing lining to zipper in lined dress
  • Properly finishing the top of the zip
 
Practised some I've done before:
  • Insert invisible zip
  • Understitch
  • Attach lining to bodice
  • Insert a lining
  • And learned that I wasn't quite as proficient at them as I'd thought
 
Developed my pattern cutting techniques:
  • Learned how to alter gathered dart - a pity the fabric was cut and I couldn't apply what I'd learned to the bodice
 
Learned a few miscellaneous things:
  • It's important to perfect the toile before moving on - otherwise a lot of time will be wasted and the garment may still not be a good as it could be
  • I sewed and unpicked so many times here and learned that fabric is just fabric.
  • I learned I can give up before I reach 'perfection' and that things can be good enough.
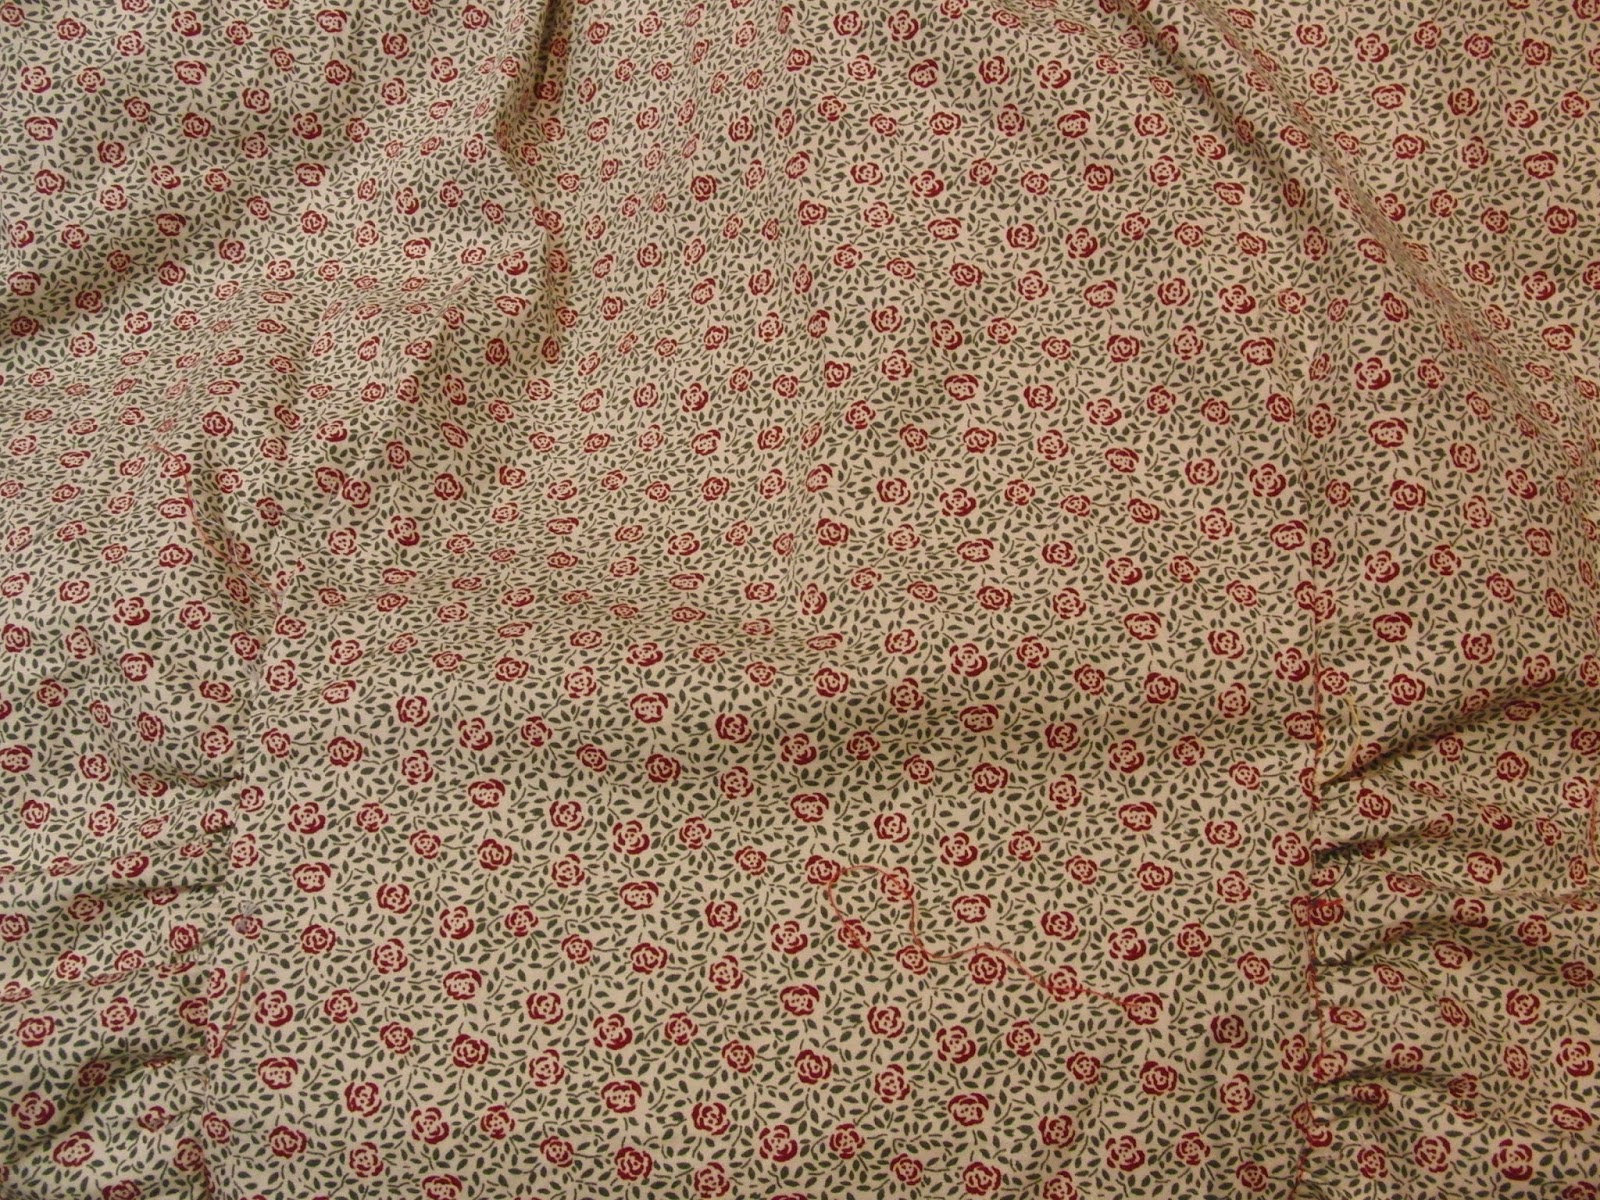
  • I should sew with fabrics I like. This fabric was beautiful to sew with but as I just don't like the small floral too green pattern, I know I won't wear the dress as much as I might have in a different fabric.
  • Although I was advised not to finish the fabric edges as that adds bulk, and everything is concealed by the lining,  I wish I had, especially for the lining which frays quite a lot.


So that's it. What do you think?  


Sunday 26 July 2015

Butterick 5951. Do I finish or abandon? And shingles disrupts both sewing and celebrations.

With my classes finished, I decided to get on with a dress I was making - Butterick 5951. This is a retro styled dress. I'm not keen on the gathered sleeve version as shown in the photo below, view B, but really like the long sleeved version, view C, for cooler days. However,  I decided to make the sleeveless version, view A,  in the first place. I thought this would be great for summer.
 

The bodice is lined, using the same pieces as the bodice. Bust shaping is created by gathering at the shoulder and a shaped waist dart with the fabric at the side gathered into a virtually separate front piece - the front dart is cut open.
Shape of front bodice
In fact, when I started this dress I intended to enter it into Pattern Review's plus size contest (the deadlines can be helpful for me,  though not in this case). I had never,  to be honest,  thought of myself as really plus sized before, even though I have to make some of the larger sizes in patterns. At 5'11" and a UK RTW size 16, most people don't think I look plus sized other than in height. Clearly, though, I am, certainly according to PR's criteria - and this has needed a shift in perception. My self view has changed. I've found that I'm unclear about suitable styles, though previously I really wasn't as my problem was that I couldn't  buy well fitting clothes, not deciding on style. Anyway, I was so busy with course work and family things that when I ran into early problems,  I didn't have time to address them. The dress was abandoned.
Showing the fabric


I had decided to use a lovely Liberty cotton that I bought for one of my daughters - who didn't like it. First, I made a toile, as I usually do.  
Toile with neckline changes marked
In the actual garment,  the bodice and lining get sewn together before the side seams are sewn. In the toile, I basted the side seams to test for fit. I found that the bust shaping was too high and the front bodice was too short. The neck was too high and the sides too loose. All these changes were made to the fabric.
I increased the length between shoulder and bust on front bodice and increased by the same amount on the back. I have a sloping back to front waist and don't need additional length in the back but do need a lot extra in the front. I tried to work out how to increase the front without increasing the back when there was the shaped dart at the front. Obviously,  front and back need to be the same length at the side seam. I asked some questions and got some answers but was still not clear how to proceed. However my pattern cutting tutor was able to point me in the right direction.
Tutor's drawing that helped me on my way
This dress, though, wasn't part of my pattern fitting classes and I made many mistakes on my own!
My block
I could now see the way forward. I used my bodice block to draw out and test the technique and was happy with it. I then moved back to the pattern and increased the length of the centre of the front bodice by more than the sides.


Here I made a big mistake!   Still trying to finish the dress in a short period,  I cut out the bodice and skirt pattern in the Liberty cotton, but not the lining fabric (fine cotton) I had chosen for the bodice, as it was still not ready after prewashing. I made up the bodice and skirt.


You guessed,  of course,  that the bodice didn't fit! My adjustments had been overdone. My pattern cutting tutor felt that I could salvage the fabric but felt I had to shorten considerably - by more than I had adjusted in the first place, though the bust shaping placement was better. She pinned the length adjustment necessary.


At this stage I abandoned the dress until I picked it up again earlier this week. I had to think whether I wanted to finish or move on with some potentially more useful work. I decided to give the dress a chance - a time limited chance.


I asked DH to fit the bodice on me as I felt the pinned length was too short. I decided to try out a length longer than that pinned by my tutor mainly because I would have been removing nearly all of the dart and gathered shaping if I had gone that route.
The pin marks where the tutor pinned it but I have cut to point showing


I have since cut off 7.5cms at the front and 10cms at the back. I have re-gathered the dart. The neckline was quite a bit too high and I adjusted that and the side seams needed taking in.

I haven't dared try it again as yet!

What next? (Yes,  I know I'll have to bite the bullet and try it on!) Do I go ahead with this - and make up the lining?  Is there a way I can get it to look reasonable and feel okay without a lining  - perhaps by using bias binding,  though I'm not sure that topstitching would look good. Hand stitching?  Not my favourite. I don't think I need a lining from the see through point of view.

DH doesn't think this is a suitable style for me, as I have less space between bust and waist.  Me?  I'm not sure. I agree with what he's saying about length but does this exclude this style? What do you think?  I'd really welcome feedback.

I'm paralysed by indecision.

My mother was staying with us for a few days, from Wednesday,  to rest and recuperate after a nasty bout of shingles affecting her chest wall. She hadn't been out and about for a while because of feeling really ill and the possibility of transmitting chicken pox to vulnerable people but that risk was now over. She's pretty frail, in a lot of pain and had been losing a lot of weight - at least partly due to being disinclined to choose what to eat, to cook. We let her rest and looked after her; she enjoyed eating meals which she hadn't had to choose or prepare and ate well. Yesterday, we took her home. It was our wedding anniversary but we decided to postpone it by 24 hours  - what's 24 hours after 38 years?

When my husband showed me a lump in his hairline on Wednesday, present for a couple of days he thought, I assumed the red and inflamed area was possibly a midge bite as he had been working in the garden. It wasn't bothering him. Then,  yesterday, on our way back from Scotland,  I noticed a couple of additional red and inflamed areas on his eyelid. He hadn't noticed them while shaving that morning. The red areas on his hairline were a little more extensive. We considered the possibility of shingles but the story and timeline didn't seem to match that and it seemed too much of a coincidence. DH had shingles on his chest wall 40 odd years ago and wasn't bothered by it then. Anyway, today we went to the NHS walk-in centre and they did feel this was (probably) shingles so DH is now taking acyclovir; they didn't feel the eye itself was affected. I had shingles affecting the left side of my face a few years ago;  fortunately, though I had lesions in my eye, these were treated and my sight wasn't affected. I still have itch and paraesthesia over my forehead, eye, nose and upper lip. Strangely, this has flared up a bit at the moment. It does that periodically though 'it shouldn't happen'.

Although my mother clearly didn't transmit this to DH,  I won't tell her in case she blames herself,  anyway.

We're still having a special meal tonight. M&S only does their dine in for two every second week, not this weekend. I went,  anyway.  It's amazing how good the value is for the dine in for two - I spent the £10 easily, without the wine. We're having a bottle of German 'champagne' - cremant d'Alsace - that we bought direct from the winery when we went on a German river cruise. We've been saving this bottle for a special occasion. Just so long as DH still feels okay.

So no sewing tonight but I'd love to hear your views and I can decide what to do tomorrow.


Monday 20 July 2015

Vogue 8646 - a floral sleeveless summer dress

I said that I’d put in a review for the Vogue dress, 8646, I made and put in as part of my finished course project. I literally finished it in class on the evening I handed the project in.

Unfortunately, I handed in all the pattern pieces and the pattern so I can’t take any photos of my alterations to the pattern pieces, but I’ll do what I can. I haven't had my portfolio returned so don't know how I've done and don't have the dress or the toile. I did take a couple of quick photos before I handed it in, though.


I'd had the pattern for a while and was put off making it by the need to use bias binding.  I originally thought this was on the surface and wasn't sure then about my ability to sew it on neatly. Also, I thought matching bias binding would be better than plain commercial tape.

The pattern is listed as easy so I decided I'd stretch myself by making some self fabric bias binding and make the dress. Then I discovered the bias binding doesn't show - what I thought was matching binding at the edges is topstitching. The bias binding is all inside.

I also had some concerns about the skirt when I realised just how full it is - it's a circular skirt with a fairly big wrapover. I initially thought of doing the long sleeved version and bought some blue crepe as I feel it looks better with long sleeves in the block colour. I thought long sleeves with a print would be too much. However, I was attracted to a floral polyester cotton in Chester le Street market at only £2 per metre. So I decided to make the sleeveless version, even though I usually prefer sleeves to hide my upper arms.

I thought I would have it finished in time for my birthday trip to London.  I always find London very hot especially in July and thought a cool summer dress would be a useful addition to my wardrobe.

As usual, I had to start with a toile. I used a similar weight i.e. fairly light plain coloured cotton. From this, I found the crossover neckline too loose - it bagged when it was secured at the waistband - and had to take a tuck to shorten it. The front bodice length was a little short and I lengthened this. For me, these were pretty minor alterations! I realised that the waistline would be a little higher than I'm used to but in the classes I've come to realise that I've perhaps expected my waist to lie too low.  Tutors keep telling me that my waistline is higher than I feel comfortable with. Presumably they're not all wrong!

Unfortunately, a relatively raised waist means that the skirt is shorter than it would have been. The length of the pattern for the skirt appeared to be okay but I'm not used to such full skirts and wasn't sure of the best length.

After deciding on all the changes needed, I transferred these to the pattern.

I washed and dried the fabric.

I then laid out and cut out the pattern, following the layout given.  This was important as being a wrap over circular skirt; I had to be sure the fabric was running the right way. I was fearful I might be short of fabric as I was using the largest size and my fabric was only 115cms rather than the 150cms I'm more used to. However, I managed to cut it out okay. I wouldn't have managed to make the skirt any longer anyway.

I didn't follow the pattern order of construction which, in retrospect, was a mistake.

I did start with making the tucks at the front shoulders and the back darts, as instructed. I finished the seams by overlocking after they were stitched together but left them pressed open. I carried out the easing on the bodice parts indicated. I also sewed the skirt pieces together and overlocked all raw edges.

At this stage, I had to apply bias binding tape to finish the armholes. I did try using my own bias binding but this was not a success and I had to remove it. I made 13 metres (!!) of single fold bias binding by the continuous method, using instructions gleaned from Lauren Guthrie's book 'Learn to Sew with Lauren'. I took pictures of my steps for my own records and wrote everything up for my portfolio. There were ultimately some problems with my bias binding - which looked great! The pressing didn't stay in place well enough, yet my tutor felt the tape had been over-pressed and didn't have the stretch it should have. Perhaps this was the type of fabric.

Part of the bias binding making process
I had found judging where to place the binding very difficult as the edge of the bias needed to lie 3/8 inch from the raw edge of the dress. I decided to stitch another line at aid placement. This proved very helpful. The pattern had a 1.5cms seam allowance and I believe that this often get removed when you're making your own patterns. I continued with my dress construction, using commercial ½" single fold bias tape as instructed.

This is where I perhaps thought too much!  The skirt front edges had to be finished with a ⅝" narrow hem, topstitched. Yet the top front edges were to meet and be continuous with this but there was ½" of bias tape plus a little at the side (the fold and understitching), so I wasn't sure it could be done. I therefore decided to go ahead and apply the bias binding around the neck and front edges. I thought I could then ensure that my topstitching was at the same width with each - at the edge of the narrow hem but slightly in from the edge with the bias binding. I left the end pieces undone for the further work required there but it was difficult to finish them off, later. I wouldn't do that again.

After applying the bias binding, I understitched to make sure it stayed to the inside. I then topstitched as instructed, using the edge of my presser foot as a guide to placement. Then I pressed again.

At this stage I thought everything was looking pretty good.

I decided the skirt was a bit short so to maximise the length, I simply overlocked, skimming the edges and turned the fabric over and top stitched. I neatly mitred the hem at the skirt bottom with the hem along the front edge.

I then returned to the pattern instructions and the order given. Now I had to attach the bodice to the skirt using a double row of stitching and press seams towards bodice. My intention was to overlock the raw edges.

My problems continued here. As I had already added bias binding, this made it more difficult though not impossible to add the ribbon (for the inside ties) as instructed. I then finished off the bias binding.

However, the pattern was clear that the bodice should extend out from the skirt. Their bodice didn't have bias binding yet but I assume it stuck it by 1.5 cm on each side, ready for the bias binding to be applied. My skirt extended out from the bodice by approximately 2.5 cm on each side! I can't work out why. My notches, seams and centres all matched.

This shows the bodice/skirt junction with the skirt extending out from bodice which shouldn't have been the case


I decided to try on the dress at this stage. I hated it!  I felt it didn't suit me, wasn't a flattering style for me and was too short. My husband, too, disliked it. I think the style is too young for me. I felt like mutton dressed up as lamb! I was ready to throw it out.

At that stage, I felt that I had learned a few things from this dress.

·         I need to be more careful with my style choices.

·         Don't try to rush a project even to hand in as part of a portfolio due the next day!

·         Read through and fully understand the instructions. It's okay to deviate from the instructions if that makes more sense and if it doesn't lead to overuse of the unpicker.

·         Patterns can be wrong.

·         I think fabric choice was crucial - I think the crepe (recommended fabric)  would have worked much better than the polyester cotton (I'm not sure there was much if any cotton in it as my needles didn't like it and I could hear that polyester noise as I stitched).  Fabric isn't cheap if it leads to a failed item.

·         I won't try the continuous bias binding method for a while yet but will try again using the single length method. Methods need practice and I can't really expect something to work first time.

·         I should have basted this together much earlier to check for hem length and whether it was even. My excuse was time pressure

·         When trying on, make sure the garment is lying as it will later, on the body, so some closures may need to be pinned closed

I decided, however, to persist. I wondered why I was persisting with a dress I don't even like. Actually, I know why. I hate leaving things unfinished. When I see a problem, I like to try and fix it.

Hopefully fixable problems

So I examined the dress as it was and tried to work out what the still fixable problems were:

The two front edges of the wrapover and wrap under on the dress were never going to work. I had made a reasonable stab at getting the seam width correct so the top stitching would match the bodice but there was no way I could get the topstitching to line up with the bodice - quite simply, there was about 3 cms excess width on both skirt front pieces.

Pressing the waistband stitching upwards meant that my finish was going to be untidy. I didn't like the way they said to finish

The ribbon tie was not in the right place to allow me to manipulate the seam junction.

I couldn't change the length of the dress.

So what did I do?

I carefully folded over the skirt fabric along the front edges to make sure this would match with the edge of the bodice and pressed the fold line in.

I then unpicked my previous topstitching on the skirt and opened out.

I then cut off 3cms from each front edge.


I then turned under and pressed, making an even double hem of what I thought was the correct width. In fact, it could have been narrower as earlier I had stitched the top stitching on the bodice to what I assumed would be a narrower width on the skirt.

At the waistline, I took out the ribbon - I planned to turn the waist seam down rather than up and this would mean that the ribbon was in the wrong place.

I had also added an additional layer of stitching along the bodice skirt seam and had overlocked the raw seam together.

I then carefully folded the waistline stitching down rather than up. This allowed the folded over skirt seam to cover some of the workings which would otherwise have been left exposed. I included the ribbon on the left side of this as before but now stitched at a more suitable spot.

I had to unpick part of the pin hem on both sides to allow a cleaner finish. I folded the fabric back on itself and stitched along the original hem foldline, halfway across, to allow for the fold.

Then I topstitched the skirt at the same width as the bodice, paying careful attention to the junction

I re-topstitched the hem.

I sewed on the other ribbon to the inside

I pressed again, this time making sure that waistline seam was downwards.

I finished all my stitching and cut off the ends


Finished dress - well, nearly

All I needed to do was to add a hook and eye closure to the dress, allowing an overlap. The pattern had you match the centre points on each side. I had marked these but wasn't sure if they remained valid points after cutting 6cms off the skirt width. Clearly that means a smaller overlap than was originally envisioned, but I don't actually think it affects the centre point. I tried on the dress to measure where the closure should be sewn and to take a quick photo for the portfolio.

Thoughts on finish

This dress does not have the quality of finish I usually strive for, but don't always achieve.

Because I don't really like it and because of the rush to finish it, I didn't undo and redo some of the components that could have been done better. I recognise what these are.

It is a learning process though.

I don't like rushing and deadlines for sewing as I am a slow(ish) sewer. You won't catch me going on the Great British Sewing Bee!! I prefer to take my time and do things properly, an option which is not available with 11th hour rush sewing.

Someone once said to me that if the pattern envelope shows only line drawings, beware! What is the garment going to look like in real life on a real model? Not only does this pattern only have line drawings - but both drawings show a belt in place at the waist (though the pattern does not have any instructions for any kind of belt carriers). I think the way they recommend construction means that the waistline seam particularly at the edge closures is the weakest point in the design and the one that could look really bad. A belt would cover that.

I decided to put the dress on now that it was completed bar the hook and eye closure and wear it with a belt. Initially, before I properly fastened it, the dress was lying too far forward on the shoulders, contributing to the unequal lengths of back and front. However when the dress was properly adjusted, the lengths were fine. I took some photos at this point.

The dress is possibly wearable by me though it's too short. The waistline is too high for my taste - it lies above my natural waist at the front and sides and I would therefore want a longer bodice, despite my earlier comments about trying to get used to a higher waistline as this is repeatedly advised by my tutors.

In the class the next night, I sat sewing on a poppet set, rather than the hook and eye recommended, to close the dress - and the dress was finished!
What do you think?


How Do You Read Blogs?

It's a while since I've posted a blog,  lots of reasons. I'm thinking of starting again. However,  I used to read the blogs I fo...