I realise that I
haven't posted any reviews of my makes on Pattern Review as I used to do, for months now. There
are a few reasons for this.
- When I've made something before, I'm not sure what else there is to say
- If I don't like the result BUT I've altered the pattern substantially so the issues could be mine (though they're certainly not all mine!). On the other hand, most people do need to alter patterns to fit.
- When others review well, and my result isn't good - am I being too negative? I don't want my blog or reviews to be continually negative. However, I have a feeling that some people don’t review negatively when that might be appropriate.
I've had a few
patterns with problems recently. I'll mention two
McCall’s M7322 view A - now modified

The first of these was the tank I made for my Blackwood cardigan. At first, I thought it was the changes I made that meant it didn't work. Could be, of course. What did I do? I ended up cutting the tank two sizes smaller than recommended by the pattern, plus narrowed the back of the pattern (and neck) by a couple of inches. The length is irrelevant. I used McCall’s M7322 view A - sleeveless, scoop neck

This past weekend
(it’s a couple of weekends ago now!) I was away for a few days playing bridge.
A friend who was there with me said she never saw me wear any garments I
made. She had without realising it! I was actually wearing a few over the
weekend and my friend was astonished - she thought they were lovely and would
never have guessed I'd made them. She asked if I'd made any trousers - but of course
that's a different story!! Nevertheless, I felt great about that. Then last
week, I was presenting our group photography session, and someone commented I
looked fabulous! That made me feel better about presenting!!
One of the outfits I
wore while away was the above tank and cardigan. The cardigan is fine - no
problem. I like it and wouldn't make any significant changes to a future
version, unless I make the other view, the longer cardigan with pockets though
that’s a bit unlikely.
The tank/shell, however, was excessively baggy and boxy - it would be improved a lot with waist shaping for sure but I'm not going to criticise the pattern for that - I prefer waist shaping for my figure but others don't for theirs. I am going to criticise what must be a HUGE amount of ease - after all, I am a pear/triangle shape with very large hips and I can easily pinch out several inches at the hip, despite this being two sizes smaller than recommended. Now, I've often read of criticism of excess ease when I haven't found that. I've concluded that I like more ease than others. After all it's a personal issue. This is excessive.
I've just thought - did I not review the original? I have photos but too late now!! I had a shortage of fabric length and so made the top a bit shorter than I would have liked.
The tank/shell, however, was excessively baggy and boxy - it would be improved a lot with waist shaping for sure but I'm not going to criticise the pattern for that - I prefer waist shaping for my figure but others don't for theirs. I am going to criticise what must be a HUGE amount of ease - after all, I am a pear/triangle shape with very large hips and I can easily pinch out several inches at the hip, despite this being two sizes smaller than recommended. Now, I've often read of criticism of excess ease when I haven't found that. I've concluded that I like more ease than others. After all it's a personal issue. This is excessive.
I've just thought - did I not review the original? I have photos but too late now!! I had a shortage of fabric length and so made the top a bit shorter than I would have liked.
 |
| Detail of now coverstitched neckline. Maybe part of my issue is that is shows up the scar from cardiac surgery 18 years ago |
I wore the tank and
cardigan and at no time felt comfortable enough to take the cardigan off. Fortunately,
the hotel was less hot during the periods I was wearing it and when I was
walking outside it was fine. At one stage, though, I found that my bra
was showing because of the position I was in. Not good.
I have read quite a
bit about ‘balance’ in a pattern. I can't say I fully understand it, but
I believe it's what makes a pattern lie correctly when made up. This
doesn't and the horizontal lines of my pattern move upwards from back through
to front. You’d think this would make the front neck higher, though it doesn’t
seem to – unless of course it would be a lot lower otherwise! The upward slope
could be due to the need for a FBA. I don’t know, as the top was very loose. It
could also be due to the changes I made to the pattern.
The last issue with
the tank is certainly down to me. The neckline doesn't lie nicely, as it
falls forward/outward. I used my new coverstitch machine but did it over a full
bias binding that had raw edges turned under, so it was quite thick. I
think that I should have altered that by unfolding it as I did with the
armholes, which do lie nicely.
 |
| Detail of armhole - not easy to see |
In conclusion, I
don't like this pattern and won't make it up again. So, should I review it on
PR? Reading this, do you feel I am missing something? Something I’ve done?
David asked if I
could make it again with what I have found, and I explained that I didn’t have
the fabric. However, I decided to take in at the side seams around the waist
area and take out the coverstitched neckline and redo as mentioned above and
see if that makes it wearable. I won’t alter the balance of the top and won’t
change the low neck but at least it won’t be baggy and shapeless.
So - I did the
alterations I mentioned. I significantly tapered the top in at the sides, more
at the waistline, with help from others in my sewing class to determine how
much. I serged off the excess on the inside - sadly that meant having to cut
off some of the coverstitched hem and armhole. So be it. I tried to stop short
of the hem, but it didn’t work, and I had to cut off ¾” back and front and on
both sides to ensure it lay smoothly. The top is significantly smaller than it
was and fits better.
 |
| Front view |
 |
| Front view |
I did take out the
coverstitched neckline stitching and redid it with the bias folded out and the
excess fabric trimmed away. It lies much better now but I don’t know if it has
solved the problem entirely. Sadly, I did that before the alterations at the
sides! As a result, I had to fudge the joins - no way was I going to take out again!
Today, before publishing this post, I did read some reviews - all said too big, too boxy but were not otherwise too critical.
 |
| Back view |
 |
| Side view - my hem edges are a bit wonky as a result of redoing. I guess I should have/could have taken off more at this point. |
Today, before publishing this post, I did read some reviews - all said too big, too boxy but were not otherwise too critical.
GBSB Breton top
The second top I’m
criticising is the Breton top from the GBSB sewing book ‘From Stitch to Style’
 |
| I love this look!! |
Part of the issue
here is that I didn't have much time and I hoped to enter this top into the
#sew50visible challenge as it was modelled by a 50 plus model (shown above) so was eligible.
I love stripes, love long sleeved Breton tops and had bought a suitable
fabric in Lucky Fashions, Dewsbury. I had never made anything from any of the
three GBSB books I have and had never read any reviews of them and had no time
to even think about a toile. Not really the best way to start!
I examined the
suggestions for size and chose appropriately, or so I believed. I lengthened
the body by 2” and the sleeve by 1”.
 |
| I didn't realise the top was caught up on my trouser buttons |
 |
| The sleeve has been shortened by 2"; they are a bit loose for me too |
I traced the pattern.
This was my first time using a magazine or book pattern. I found it a bit
tricky to find the pattern in the first place as it wasn't listed on the
sheets, then found the front and back were different colours and I nearly
confused with another top on the sheet.
Some of the markings weren't as well marked as I'd like. Anyway, I
traced out onto pattern paper and at the same time made the front and the back
as full-sized pieces rather than pieces to be cut on the fold as I felt that
would make keeping the stripes matching more easily.
 |
| The sleeves are cut back by over 2" but are still a bit long for my taste |
I cut out without
difficulty. My fabric was much better behaved than I expected based on recent
experiences.
I then started to sew
up. I found that the pattern marks did not match. I checked my markings
and they were as given in the pattern. I
measured the distances on the pattern, and they did not match. This was
the case with the sleeve notches which I was able to get around. It was also the case with the side slits -
notch to notch was at 9cm on one piece and 10cm on the other. I was able to
deal with this with Lyn's help ( I was doing this in Lyn’s Thursday sewing
class) but this was trickier as I hadn't made this kind of slit previously.
Lyn commented that
she hadn't found patterns from these books very good. I wish I'd asked her
first!
I didn't get it
finished in class, as I'd hoped. I really just had the final topstitching
around the neckline, sleeves and hem to do (the slits looked good I
thought).
The pattern suggested
a straight topstitch and I did that around the neckline to hold down the
facings, but it looked awful. I wanted to finish in class so my new coverstitch
machine was not an option but clearly would have been better. One issue here is
that the facing is stitched at 1.25 inches but it's double that width and all
that excess gets trimmed off. Why?
I sewed the rest of
the top together and serged the seams using the class overlocker. I followed
the pattern order of construction and the top stitching around the neckline
gets done at an early stage. I tried on the top. Hmmm. Not nice. The neckline
looked awful, even considering the need for replacement topstitching. Lyn
wondered if it had stretched, though I did stay stitch etc. The neckline was/is
rather wide for my liking. This led to the sleeve/bodice junction being further
down my arm than presumably intended and the sleeves were considerably too
long. I had lengthened them by an inch because of my long arms but they were at
least 2” too long. I turned up the bottom hem - length dictated by the side
vents. The top itself looked big, shapeless and baggy and a bit too short
despite lengthening by 2” - not at all like the rather sexy top of the model
(though the skirt really added to that view! I love the skirt).
The end of the class
had arrived. ‘All’ I had to do was to take out the neckline topstitching, cut
off the excess sleeve and turn up the sleeve hem and then topstitch neckline,
sleeves and hem. As my coverstitch machine is new, I am not proficient with it
as yet, but even so, I could have finished this pretty quickly. I could have
made the time even though I was packing to leave for the weekend the next
morning. What stopped me? A combination of factors, the main one being I don’t
like this top, so I didn’t feel in any hurry to finish simply to enter an IG
challenge - after all, I’m critical of the pattern and it doesn’t look good.
The other factors were that I’d have to find sufficient thread to thread the
coverstitcher probably by winding several bobbins and I’d prefer to test and
practice. So, it didn’t get finished.
I did know the
finished measurements of this garment and realised there was a fair amount of
ease, so should perhaps have sized down at the early stage. I’m not sure how
much that would have affected the neckline. I presume the sleeves would have
been less long. The pattern notches were certainly incorrect. The body was too
short despite lengthening.
I don’t think I’ll
make this again and it has put me off further GBSB patterns. I saw that someone
else had made the top for the same challenge and seemed very positive about it.
So - is it me? Am I choosing the wrong style? The wrong size? Am I too fussy?
All of the above?
I will add that it’s
not nearly as bad as I first thought, and David quite likes it. I wondered
about adding a patch into each side of the neckline, stripes going the opposite
way - a kind of gusset - as my bra straps show - and investigated that in the
following class. However, I decided against it as I didn’t feel the gusset
insert would work - it would look very busy with stripes going in all
directions and anything else would require a major deconstruction of the top
and I wasn’t going there.
I ran into difficulty
coverstitching the bottom hem. The fabric was ploughing. I realised I
needed to adjust the settings and was advised to change the needle from the one
that came with the machine (Schmetz ELx705 to the stretch version of the
needle - Schmetz ELx705 SUK CF) so did that. Someone else suggested I might be
using cheap thread. I didn’t think it was but could be. I bought some better-quality
thread advised by my dealer but colour choice was limited and both he and I
thought my original thread was preferable. He didn't think my thread was the
best but not the worst either. I decided to send away for some MaxiLock which
is certainly much smoother – and that’s what I ended up using.

I wondered about
needing to change the differential feed more to stop the ploughing of the
fabric and whether I needed to change the foot pressure - not something I have
tried as yet. Or even use some kind of temporary interfacing/wundaweb. Another
issue is that the hem was rounded, and I had difficulty guiding the fabric. I’m
not sure whether I should consider getting a hem guide. It all adds to the cost
of this expensive hobby and would it be a useful addition?
I decided to
straighten the hem as it would be easier to follow a stripe for the coverstitching
rather than a curve at 1.25” from the hem fold, which I found very difficult.
It’s not quite as nice without the gentle curve but I felt it would be easier
to handle. It shortens the overall length in the middle by about ½”

My coverstitch has 3
needles and the needles can be used in any position. I read about machine
basting hems where the centre of the foot/centre needle would lie and then
coverstitching with the wide coverstitch - needles in L and R but not middle,
following the line of machine basting. I was able to use my sewing machine’s
inbuilt dual feed and achieved a basted line to follow - and of course, which
kept the hem in place.
I also cut down the
neckline facing to bring it much closer to the finished width.
I then managed to do
the wide 2 needle coverstitch around sleeves, hemline and neckline without
difficulty. I had practised first, to check tensions etc. I chose to secure
all the ends, though that is not 100% necessary. Then I had to take out the
basting stitch.
 |
| My bra straps show, sadly |
The coverstitch is
supposed to cover the cut edge of the hem but because of the way I did
this, after construction, it didn’t. I then had to trim the fabric closer to
the coverstitching.
It’s finished!! The
neckline is too wide, but I could wear a cream camisole under it. I’m not keen
on the style - I don't think Dolman sleeves are for me. I prefer a structured sleeve
and shoulder.
Another issue - when I put on for these photos (my daughter was visiting and took them) I couldn't tell what was the back and what was the front of the top!!
Rather belatedly, I read some reviews and found all reviews saying that the top was too short - many had missed out the side slits (which required a 2 and 3/4" ) hem and simply turned by 5/8". I'm very glad I lengthened by over 2" in the end. The reviews also mentioned narrowing the shoulder length to have the sleeve start at a more favourable position, which would have helped. I didn't see others mention that the markings were incorrect though some mentioned the absence of markings for bustline, waistline etc and the need to 'guess' at a size. Others did not mention too wide a neck so that may be my issue alone.
Another issue - when I put on for these photos (my daughter was visiting and took them) I couldn't tell what was the back and what was the front of the top!!
Rather belatedly, I read some reviews and found all reviews saying that the top was too short - many had missed out the side slits (which required a 2 and 3/4" ) hem and simply turned by 5/8". I'm very glad I lengthened by over 2" in the end. The reviews also mentioned narrowing the shoulder length to have the sleeve start at a more favourable position, which would have helped. I didn't see others mention that the markings were incorrect though some mentioned the absence of markings for bustline, waistline etc and the need to 'guess' at a size. Others did not mention too wide a neck so that may be my issue alone.
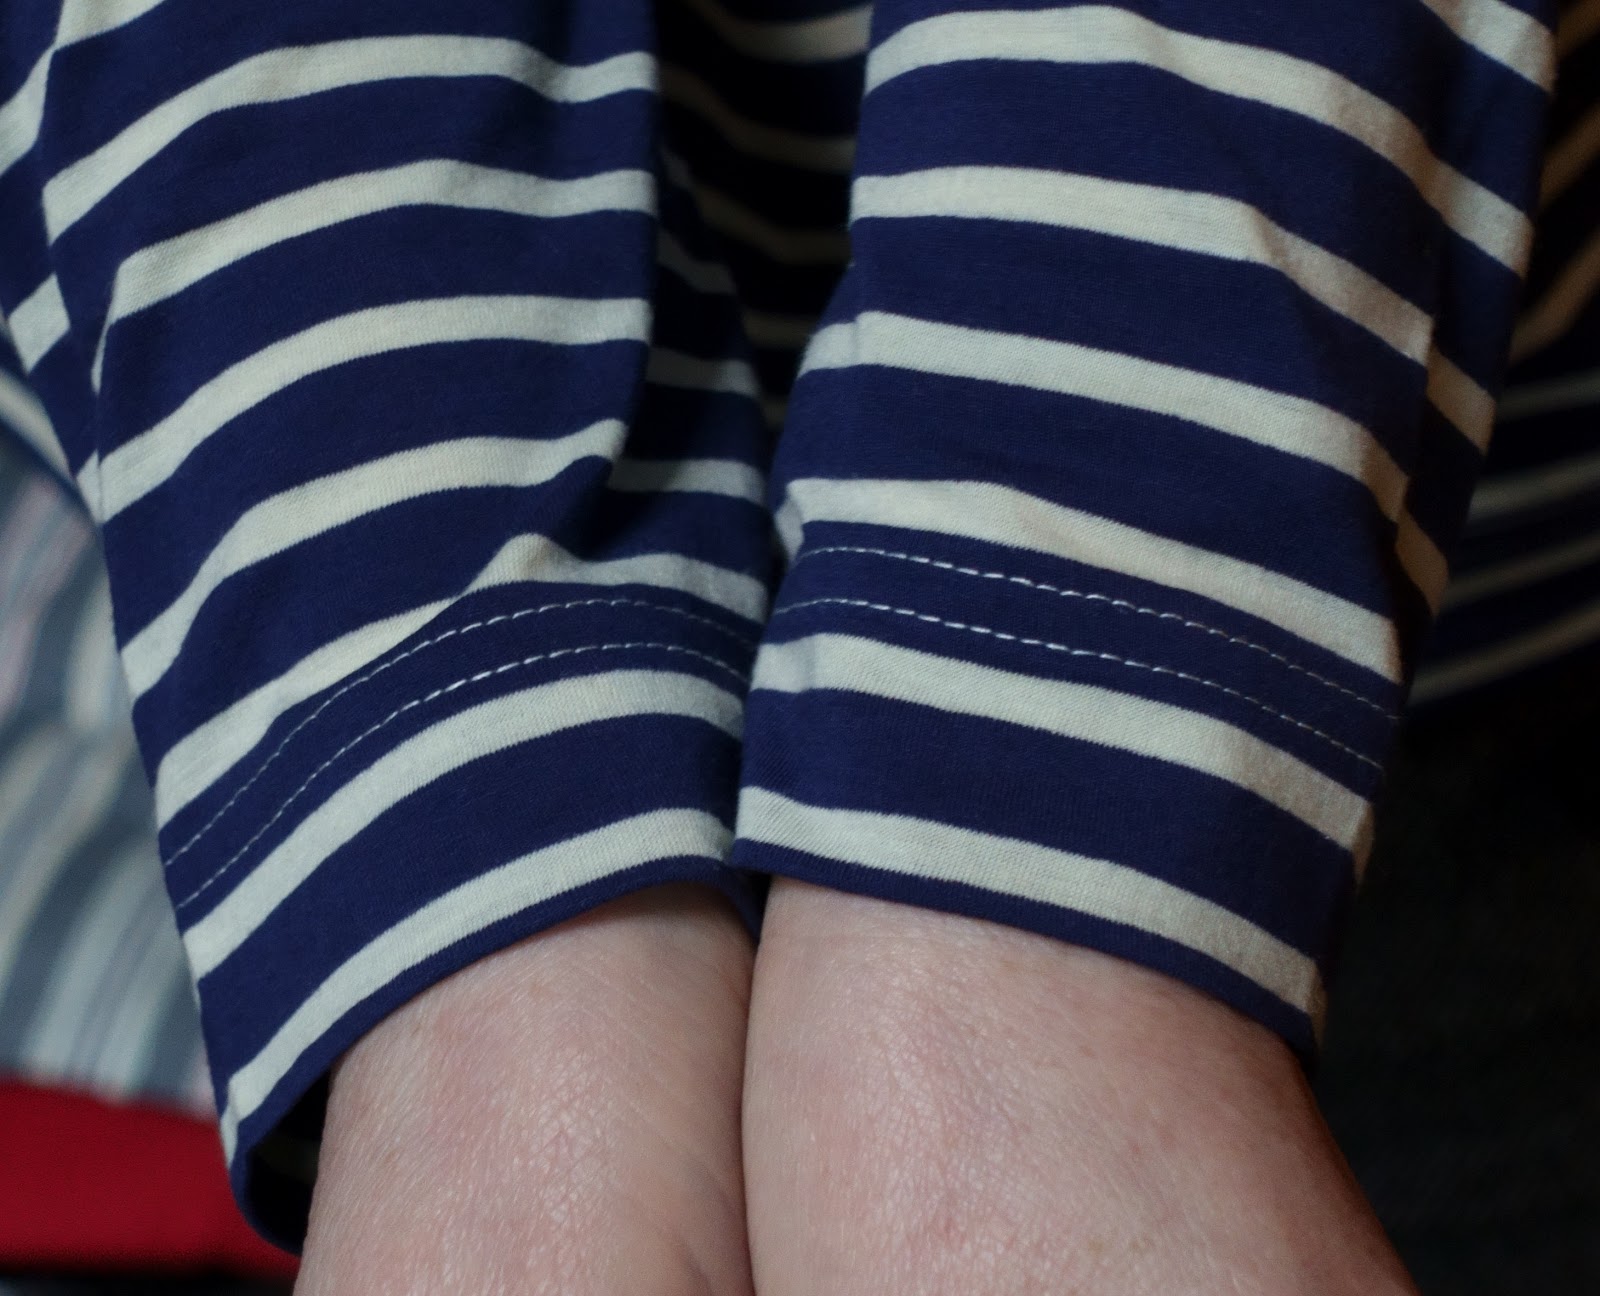 |
| Handcuffs? |
What did I
achieve/learn?
I have two finished
garments which are wearable even if not the perfect style for me or perfectly
stitched.
I went some way along
the coverstitching learning curve. I think the coverstitch definitely does give
a more polished finish. Next garment I do, I will plan to cover stitch from the
start and will cut facings and hems etc the correct width.
I won’t make any
further Dolman sleeve tops.
Outstanding queries
Should I go for a hem
guide and/or a clear foot for my coverstitch machine?
Thread is very
expensive. In the overlocker, because you don’t see the seam, you can get away
with a close enough thread – grey is very useful for a lot of colours. With the
coverstitch machine, 1, 2 or 3 threads show on top. Is it okay, I wonder, to
wind some thread onto bobbins and use that? I looked at various posts and saw
that while just this was suggested, someone suggested that the thread should be
wound onto the bobbin and then rewound off that bobbin to another bobbin so it
lay in the same direction as the other. Is this necessary?
Questions
Should I review
either of these garments on PR? I think I'm going to go ahead and review the Breton Top as I don't believe any of my changes were responsible for the problems I met.
Any thoughts on
thread?


