Showing posts with label Cashmerette Concord T-Shirt. Show all posts

Thursday, 27 December 2018

Hits, misses and neutrals in 2018


I seem to have been quite busy with sewing this year but with very little to show for it! I have quite a few craft items which have been successful in their own category and some knitting - oh and repairs and refashioning. As there is so little to show, I’m doing one post for both successes and failures for the year. I'm not including failures that didn't get as far as being made up - and there are quite a few of those!

I will do them in order from the start of the year, all together in one category. Click the title to get to the appropriate blog post where the pattern number and details will be listed.

As before, I'm linking to  Crafting a Rainbow’s Top 5 of the Year.

January
Kimono - success
In January, I made a kimono for myself. I like the kimono, feel it fits well and do wear it. There is a but - the colours are not right for me and I have been intending to remake with a fabric more suited to my colouring and my other clothes. I tried to get a similar fabric but haven't been successful. Nevertheless, I consider this a success.


In January, I finally finished the Chanel-type jacket I had been working on for some time, after starting it in a two-weekend class I attended with Margaret of The  Crafty Creek in the autumn of the previous year. I think the jacket looks great but I haven’t really worn it. This is mainly because I feel it is a bit snug (I have put on weight, alas). I feel it is snug around the biceps and it lies with the two fronts quite far apart. I learned such a lot from this exercise, though - very much including what I would do differently next time. The main thing I would change would be to overlock raw edges before started construction. I’ll have to say this is a neutral as it hasn’t been worn in the way I had intended – so neither failure nor success.


February was a very unsuccessful month with several items and pieces of fabric being rejected. March was a more successful month

It was cold in March. We haven't had much cold weather yet this winter.
I made the Jasper sweatshirt and have worn it a lot though it’s only getting cold enough now to think about it again. I like it but it was criticised on the style website I’m a member of for being too dark for my colouring - while I didn’t want that to influence my view of it, it has to some extent. I plan to make it again but in slightly lighter weight fabric

New Look 6481 tops - 2 x successes 1 x fail
I’ve worn these tops a lot. The fail was as a result of using a fabric with insufficient stretch and it was too tight for me. It went to my daughter who wears it, as far as I know so not a total failure. Operative error.


Regularly worn. I like one better than the other - the one that has slightly more stretch - as it feels more comfortable. Same fabric as the NL 6481s


Trousers - epic FAIL
For the whole year, well until autumn really, I was trying to make well-fitting trousers. The closest I got was making up a pair of trousers that I was forced to wear for golf matches as I had no other suitable trousers which still fitted me. I did get to wear them but they were neither stylish nor comfortable.
I intend to solve the problem in 2019!
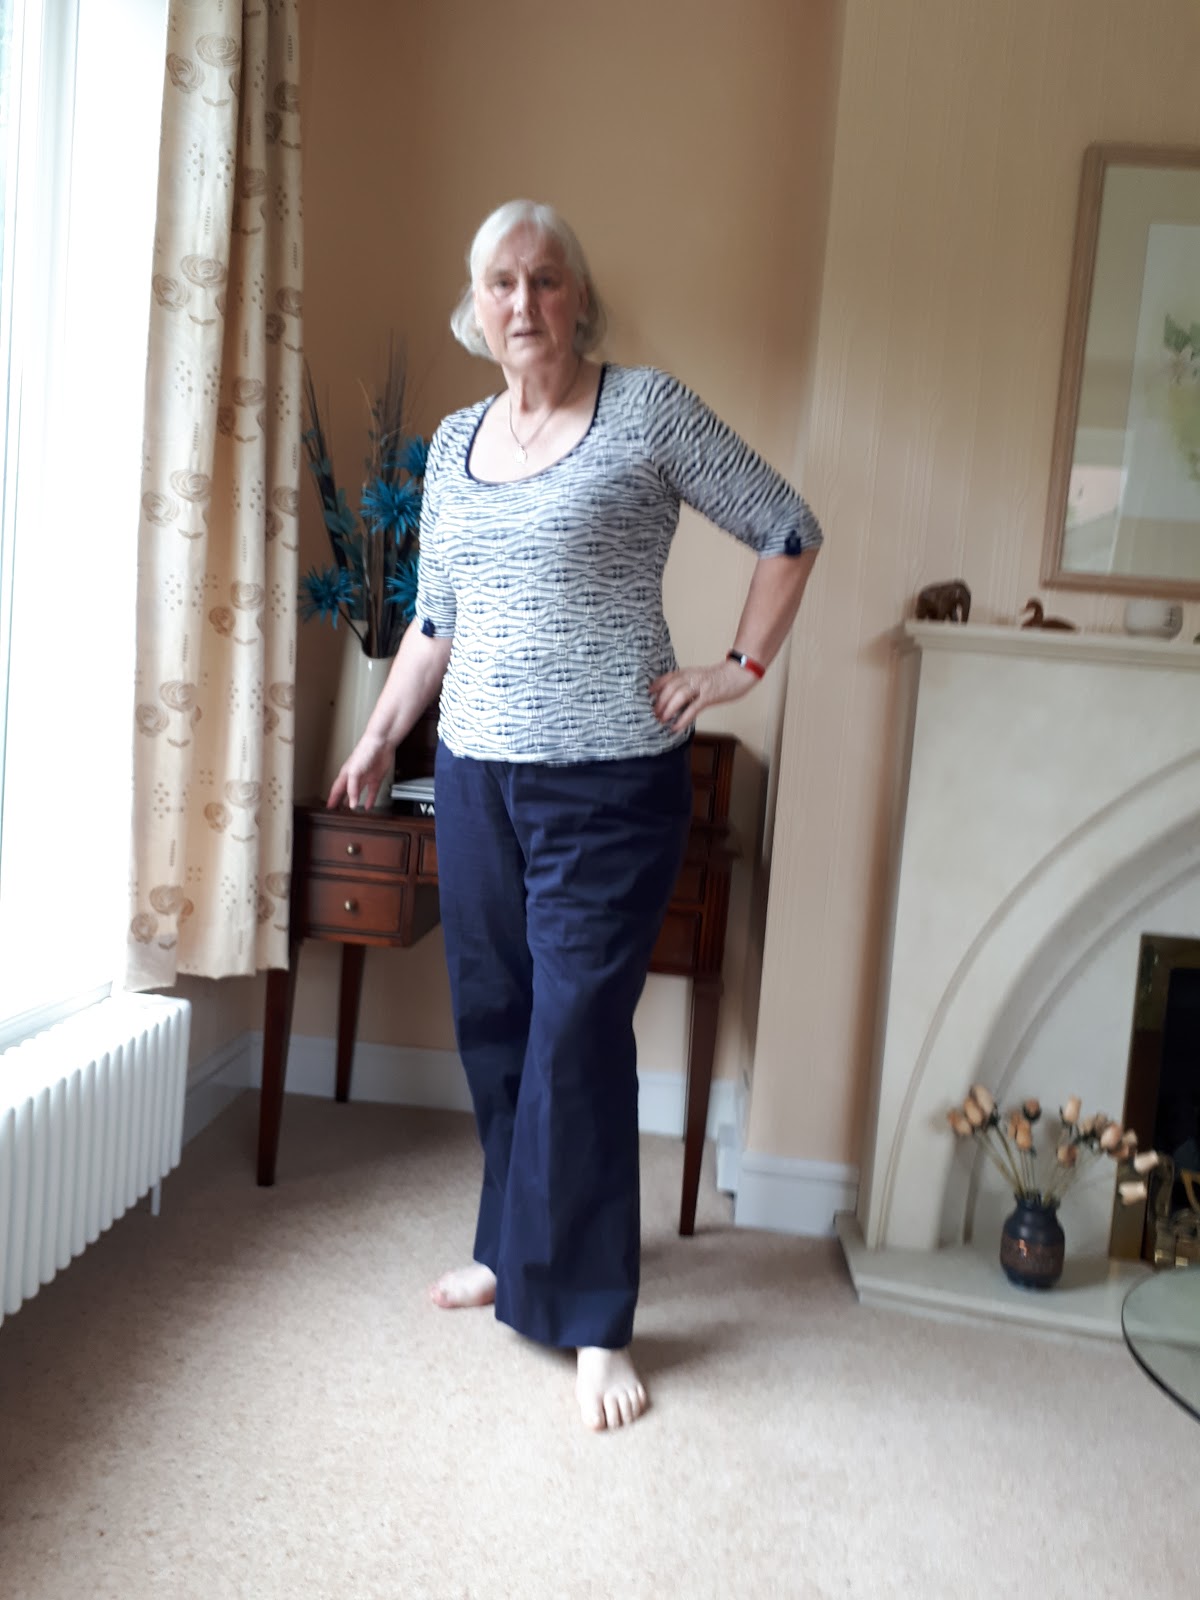
 
I have so many awful photos of the various stages - this was the least bad
I haven't linked to a post

Self-drafted top - failure
I finished this but have never enjoyed wearing it. The fit just isn't right.


I made another Cashmerette Concord, this time with a V neck, tunic length. I’m not really wearing it - I think because the neckline is a little loose/stretched and a bit low for my liking. Operative error again.

Items for my daughters - successes. Probably
I made another pair of culottes for Joanne. While she was visiting for Christmas, I made some repairs to a much earlier pair of these culottes (she loves this style) and has told me she hasn't started to wear the most recent ones as yet.


I also made another silk dress for Helen. 


I am sure these will be successful but it’s too early to say as yet.

Gosh, that’s not much to show for a year! The trousers took up a lot of my time and made me feel completely despondent so I had to give up. I did a lot of garment refashioning, garment repairs

Machine embroidery - successes
I started to use my embroidery machine and enjoyed it. There is quite a big learning curve that I haven’t mastered yet, but I’m beginning to produce items that I have enjoyed making and the recipients have liked receiving.

Classes 
I attended a few classes - working with leather; silks and sheers and corset making. I have taken something from each class. My oldest daughter likes the corset I made (a standard size 12 with a D cup, clearly not for me!) and even though it is a sample speedily made up a couple of days before Christmas, she has taken it home with her. My youngest daughter found a little too much space in the cups - she added a couple of cooking apples to fill the cups out! She liked the waist shaping it gave her, though - she has a fairly straight figure

WIPs
I have some WIPs, ready to restart in January

Make Nine Project - failure
I signed up for the make nine project and have not succeeded in making anything like 9 items. This is because quite a few of my items were going to be trousers/pants and I haven’t got the fit right as yet. Is it possible that I won’t be able to? I didn’t make the jacket as that was to go with the trousers.

RTW Fast
I have been more successful with the RTW 2018 Fast, depending on how you measure success! I have done the fasting - but have not managed to fill the gradually increasing holes in my wardrobe.

7 Steps to Style and Evolve Your Style - failure
I intended to put everything into this but found I just didn’t. This was partly because I was on the RTW Fast and so wasn’t buying new clothes (or even charity shop clothes for refashioning). I had a huge bundle of old clothes that needed restyled but they got me down, I had little idea how to proceed (Lots of trousers) so I abandoned that idea.
I haven’t seen much point in buying new fabrics when I have huge stash or new patterns ditto. So this coming year, I will concentrate on making what I have manageable and reflect me.


Friday, 4 November 2016

Cashmerette Concord - part 2 - and, yes, a completed garment from the toile

Part 2 for a simple tee shirt,  you ask?  I'm not a fast sewer and have other things going on, as usual, too, as you'll see. I'm not in a hurry with this. It's quite nice to be able to take my time.
Completed tee-shirt


Altering first toile

I took the original tee to my sewing bee a couple of Thursdays ago now. I took advice about the gusset insertion to the bodice. Just as well as I was going to shape the pieces like the bodice sides but I was advised to make a smoother more regular shape. The first was a bit like a chilli pepper. The second a slightly bowed triangle. I made this triangle 5cm across at the top, tapering to zero at 18cm. I then added a 1cm seam allowance all around. I carefully marked the bottom of the triangle.


I cut out one new sleeve - to minimise fabric use.


I inserted the gussets into the bodice, both sides. I was more successful with the sewing on one side than the other. I tried on the bodice at this stage, properly, and under the arm was very floppy but Lynn said I couldn't really judge until the sleeve was inserted.


So I went ahead and inserted my one sleeve. It went in beautifully. The top of the sleeve cap was smooth and gorgeous. But. You knew there was a but coming, didn't you! Yes, the sleeve was too loose and under the arm still loose and floppy. I clearly didn't need such a big biceps adjustment. I had originally measured my biceps at the widest point and added an inch for ease, as recommended in sewing books as the ease for knits and compared to the pattern. My measurements were 4.5 cms bigger than the pattern. Obviously, different stretch knits will behave differently. I can certainly see why each different knit would need a toile.


Lyn examined the tee and concluded:
  • The gusset is too wide. 1 cm would be adequate.
  • The sleeve is too wide by the same amount
A view looking from narrowed gusset up to narrowed sleeve. You can see how much I was going to remove

  • However, the sleeve cap fits beautifully, so consider just cutting off at the sides. (Considered - done) Note, of course, that this is the original sleeve cap shape as I kept that when I widened the sleeve so the original pattern sleeve cap is lovely.
I don't have a picture of the lovely sleeve cap at this stage. This is the original sleeve cap shape

This shows the bodice with gusset attached to the widened sleeve, lying on top left of photo
I have quickly re-stitched here to narrow the gusset - the dart shape is the amount the gusset is too big.
The amount between the two seam-lines is what I need.
Even restitched, the gusset is not too obvious. Here the sleeve has also been reduced in circumference


So I unpicked the gussets and the sleeve, redrew and cut out the required width of gussets and trimmed the sleeves 

I put in the new gusset to the side pieces of my original fabric tee-shirt. My sewing wasn’t perfect - I think I need to practice gusset insertion as this was my first time. Really, rather than a gusset, it’s a godet - but the sewing is the same and I haven’t done that either apart from one practice in class last year I think. I don’t think that was that good, either.
I sewed on the neckband. I realised after I had done this, that there was some puckering right at the front, so I decided it had to come out. My marking snips hadn’t worked properly and I think that I had uneven stretching. I couldn’t get the stitching out.

I sewed the bands onto the bottom of the tee. The back of the tee shirt is slightly longer than the front, which is quite nice. However, I didn't know whether I got the bands mixed up or whether I didn’t sew properly (I had lost my marks) but the front and back band didn’t end up at the same place, though they should have. I decided that for the toile this didn’t matter. I was going to sew up the sides as per instructions but then read a review where the reviewer said she’d definitely add the bands afterwards. I was going to ask in my next sewing bee but realised that despite me not having lengthened this pattern at all and me being tall, I found the length too long - more like tunic than a tee. So I decided I was going to chop the tee shorter.

I basted up the sides and tried on. Not happy. The back was too wide by quite a bit and my thought was to cut away but wasn’t sure if that would work. Then, I wasn’t sure if the sleeves would work in the new shape of armscye. The front armscye was too low and gapey. The length was too long.So I went to the last part of a sewing bee I don’t usually attend. I went because I was missing my sewing fix with all my classes being on holiday and for this advice. I don’t usually go to this sewing bee, because the evening class is on the same day (same tutor - Rory) and because until recently I had golf in the morning/early afternoon.

Rory pinned the back armscye in. I’ll try to show a photo of this if I haven’t already taken the pins out when I was transferring the changes to the pattern. The pins show the stitching line, not the cutting line. She also commented that the front armscye was too low and needed filled in.

At this stage, I still couldn’t take the neckband off and had lost patience with the project. After all, I now had to change armscyes, cut off length evenly, perhaps take bands off first and take neckband off. There’s a limit even to my patience!

Second Toile/Second and a half Toile - and completed tee-shirt

I decided to use one of the scrap pieces that I found when sorting through my fabric stash to make another toile. I wasn’t sure it would work as it’s a bulkier fabric with less stretch, and only a one-way stretch (US - two-way) rather than a two way stretch (US - four-way) like the fabric I used for the first toile. I used the fabric previously to make a Pattern Review winter street dress. I used another colourway of the same fabric to make a dress for my daughter. I’m not sure what the fabric is. (Rory says it's a Ponte Roma) I bought it from the stock of a closed down pretty high class garment manufacturer. The factory closed down 7 years before I bought the fabric and had been in storage in a church hall until it had to be sold.

For this toile, I used the altered and narrowed back and the G/H cup front, which I had altered to match the altered back, meaning that it was slightly built up at the arm. I used the medium length rather than the long curved and faced hem and I again decided to use short sleeves and cuffs.

The fabric was much nicer to cut out and I managed to get my pieces out of the very irregular piece I had left. The fabric was also much easier to sew up. I rattled on pretty quickly. Neckband on, sleeves inserted flat as per pattern instructions. I used my sewing machine for the main construction but I was considering whether to overlock just to make things look neater (I decided not to).

I decided as I was finishing off for the night to machine tack up the sides to see if I could get the top on, with the fabric being less stretchy. Yes, I could. I felt the front armhole has too much fabric and so the next version would need that changed. I guess that the armhole didn’t need built up after the cup size was changed from C/D to G/H; probably I should have gone down a further size in the upper body but remember that I was worried about negative ease. Also, I had already adjusted the sleeves which fitted the armhole beautifully and I wanted to try them out without major further alterations.

I was coming to realise that there’s no such thing as a simple project!

Update, rather than a 3rd post!

I took the top to the sewing bee this week. The sleeve needed adjusting front and back and still more width needed taken away from the back armscye - it's now less than a size 12. I've done this to the toile and finished the tee.

However, Rory pointed out that the shoulder line was in the wrong position. That I couldn't change on this toile. I vaguely remembered that someone commented on certain inbuilt adjustments to Cashmerette patterns - obviously, FBA with regular sized shoulder, but did they also mentioned sway back and forward shoulder adjustment? I couldn't find anything on the web so emailed the company directly. As before, I got a helpful and prompt reply - yes, they do have an inbuilt forward shoulder adjustment and sway back adjustments (but not high curved back adjustment). They also offered advice as to how to change this in future tries.

I don't have a forward shoulder and don't need this adjustment, so my feeling was initially that this pattern range isn't suitable for me - I don't see the point in undoing an adjustment, particularly when this also affects the sleeve and the sewing order? I'm sure someone who does need this adjustment will welcome that it had already been done in the same way as the FBA had been done. Not a criticism of the pattern or the company. Horses for courses!

Interestingly, Dan said I wasn't really a plus size (!!). When I questioned that, she justified her thinking and pointed out that my proportions are completely different even if the actual bust, waist and hip measurements are the same.

Anyway, I finished the tee shirt including the sleeve bands and all topstitching. Not at all bad, though the position of the shoulder line was further forward than is ideal and the front neck is a little higher than I would like. This surprised me as I thought the original neck was actually quite low and wide - just shows, you need to wait to see the finished article - but also the fabric is very different.

I again asked advice in class.
Me in class - quick photo. Proper shoulder line marked in yellow thread but I don't think you can see it.
It hasn't been pressed at this stage
The verdict was that the top was fine and I was being overcritical of myself (what's new there?). Rory suggested that I emphasise the position of the shoulder seam by zig-zagging over the seam allowances, which would also keep the seam allowances flat (this fabric is quite spongy). Overall, everyone felt this was a very satisfactory top, which fitted well.


I did the decorative stitching over the shoulder seam this afternoon and just managed, as it was getting dark, to get some photos

Back- there's quite a bit of fabric pooling and David feels a couple of inches too wide in higher back. He likes  it

Side - there's a fold above bust.
I hope you appreciate this is a natural photo! There are certain parts of me I prefer not to show off!


Front. I tried to stand upright without twisting. I think you can just see that the shoulder is a bit far forward. I don't like the fabric folds above the arm.
 Dan said that as long as I realise that I'll have to modify the shoulders on the flat pattern to do an anti-forward-shoulder adjustment, that the Harrison shirt would be good to try. I had thought that it was a pity that I'd bought this pattern and was considering giving it away, along with another paper pattern I'd bought

So what did I change in the pattern?

  • Actually very little - only fitting, which is always necessary
  • I did not make any changes at all to the neckline
  • I did not change the length
  • I did not change the style
  • I had to go up to the G/H cup size.
  • This meant I had to go down at least one size.
  • Originally the charts suggested 14G/H or 16 C/D (the latter being more appropriate because of my larger than pattern waist size) but because I didn't want too much negative ease over the bust I took advice to go up a size and make 18C/D.
  • There was insufficient bust coverage and armhole gaping together with a too low front armscye in my first toile.
  • My next toile was a 16G/H, but trimming has narrowed the back to around a 12. The front is not narrowed so much - it's probably between a 14 and 16.
  • I had to add a smidgen to the sleeve width but the cap had to be reduced - this, no doubt, the result of my alteration, which was only partly undone - that is, I narrowed the sleeve by taking in at the sides and this left the sleeve cap too big. At least that's what I think. I haven't asked specifically about this.
  • I will adjust the shoulder and sleeve to alter the shoulder position for next time. I'm not sure what else might be required. Do you have comments, please?
  • Of course, this fabric has less stretch than the one I actually intended to use - so that will have to be taken into account.

Jacket making

I've just done FBAs on two jacket patterns. The process doesn't scare me. I hope to go back to basic blocks and work on garments for me from there. I'm going to update my blocks with help from Dan and Rory. I'm not a designer, though, so my plan had always been to use details I find in commercial patterns on my blocks

Fabric Destashing and Cataloguing

During my enforced break from sewing classes and sewing bees (mid term holidays) I began sorting out my sewing stash. It's horrific! David keeps appearing with more… I even found some knit fabrics that would have worked well as a toile for this t-shirt so I needn't have used my good stuff, a rather nice viscose jersey, for the first toile.

My plan is to catalogue properly. Any advice on that? I don't have an iPad or iPhone so can't use a lot of the apps recommended. I started previously but didn't complete. I'm also going to get rid of (some) fabric that I'm not going to use. When I started sewing (over 3 years ago now) I bought lots of fabric that I thought would be good for practising. They are polyester and polyester suitings and I dislike them. I prefer calico for my toiles (I had never heard of these when I started). I've also realised that with all the effort I put into garments, I want good quality fabrics, with a bias towards natural fabrics which breath better. I don't like wearing a lot of the RTW knit garments because of their lack of breathability. I'm trying a viscose knit with this tee.

While sorting out my stash, I came across the remnants of fabric from previous makes. I was originally advised (incorrectly!) that prewashing was not required for some of the synthetic stretch fabrics. I didn't prewash a cotton jersey. Bad news. I find a lot, though not all, of the RTW tops shrink, presumably because they're not prewashed. I thought at first it was me putting on weight. I find that it's mainly sleeve length and sleeve tightness. I've always been able to buy RTW tops provided I didn't want full length sleeves - I have very long arms and don't often find full length sleeves long enough. If a three quarter length sleeve shrinks in length, the narrower sleeve bottom is now much further up my arm, where the arm is fuller, and more involved in the elbow, and it's tight. Of course, if that sleeve was actually intended as a full length sleeve but it's seven eighths length on me, the situation is even worse. I also hate any shrinkage in body length - I need all the length I can get. It's horrible to discard tops that I like but which don't fit anymore because of this shrinkage. I do,  however, have a very willing recipient of these!  This is one of the spurs to making my own,  and pretreating the fabric. So I'm washing (and tumble drying!) quite a bit at the moment.

Sunday, 23 October 2016

Cashmerette Concord - part 1

I was delighted when I won this PDF pattern from Carolyn of Diary of A Sewing Fanatic, a part of a giveaway for National Sewing Month in the US. I wanted to sew up a simple pattern after my recent hair-tearing makes!


This is a tee shirt with a choice of necklines, sleeves and sleeve lengths and body lengths. It is designed for fabric with 20% stretch and is described as having a ‘modern RTW fit’. There is over 2” of negative ease at the bust,  and minimal ease at the hips, about ½” - this is described as just skimming the hips.


The first step was to decide what size to make. Cashmerette patterns are sized by full bust size and come in cup sizes C/D, E/F and G/H. That's great, no full bust adjustment! After you take your bust size, you check that size on a chart which gives you the size to make, or a choice of two sizes. If there is a choice of two sizes, the one closest to the size containing your waist size is used (smaller cup size if your waist is bigger, as mine was). I understood this. With a 42" bust and larger waist, I needed to make a 14C/D. I would, however, need to grade out significantly at waist to a 16 and hips, to an 18.


However, I wasn't keen on that much negative ease at the bust. I wasn't sure whether to increase cup size,  bust size,  or both. I contacted Jenny, who responded very quickly (thank you) suggesting, after getting all my measurements, that I cut the 18C/D, changing to a 16G/H if the shoulders were too wide. My measurements are, for the sake of completeness - 42 - 36/38(!!) - 47 and I'm 5'11"


I needed to know this before printing as the choice at home is to print C/D, E/F or G/H - all sizes 12 - 28 are on one printout but not all cup sizes. I therefore printed out the 31 pattern pages, after checking that the test size square measured correctly. It did.


When I went to start taping my pattern together,  I realised that a thin sliver was missing from the side and top of each sheet. I couldn't work out what was going on and again contacted Jenny who hadn't had this problem previously. Again she responded very quickly indeed despite it being a weekend evening.  Just before I sent off the screen shots she requested, I discovered that changing a particular orientation setting solved the problem. The pattern now printed centred on the page from side to side and top to bottom, instead of being skewed as previously. I have never had to use this particular setting on previous PDFs. I don't know to what extent this was related to me printing on A4 paper, which is our standard here, when the pattern is sized to letter size - though it can certainly print on A4 paper, just leaving quite a large margin around the printed area. Another 31 pages printed.


Putting the pattern together was fine. There is a 1” grid throughout the pieces which helps with alignment. I like trimming my edges using a trimmer.


I cut out a straight 18C/D and went ahead and used this to cut out the tee with long body,  side slits, high neckline and long sleeves. Actually,  I changed to short sleeves (less fabric) when I realised I probably needed a full biceps adjustment and I hadn't done that. This was not intended as a toile as I used some pretty nice fabric. I didn't have any suitable cheaper fabric for a toile. (I'm doing a stash tidy and have discovered some fabrics...)


I started to make up the top but found that it didn't fit as I would like. The neckline was too wide. I felt the whole top was a bit tighter than it should be. There was gaping at the front of the armhole (no sleeves attached) suggesting the need for a FBA. I should say, though, that this was in class and the try-on was less well done than it should have been! Over a tee-shirt...


I had read a few reviews but none was particularly critical. After starting to make up my top and finding it didn't fit as I would like, I looked at further reviews. I found that in general the necklines are wide, the fit is very slim, many of those who made it went up in size or in cup size or both. These are not criticisms but I do need to know that as this affects choices. Clearly, too, the fabric used impacts on that. Personal taste comes into this,  too. At my age I don't want a body-hugging tee. I'm not sure I ever did!


Marianne of Foxgloves and Thimbles reckoned it's worth persisting through initial fitting issues, which she also had, so I decided I would.


I reprinted the front in the G/H size,  have narrowed the neck a little, though I could get away with the width without adjustment (the shoulder fit is fine), did a nearly 2” full biceps adjustment, which involves the sleeve, sleeve cap and the armscye; this amount of change caused a marked dipping in the sleeve cap, which had to be restored - amount decided by drawing original cap before the manipulation and comparing.
I made the adjustment on the full sleeve length but then cut the pattern pieces to the short length I wanted

For this, I used Palmer Pletsch Fit for Real People, but Jenny also sent me a link to a tutorial on the Curvy Sewing Collective. I compared  the sleeve to the armscye (walked) to work out how much that required to be adjusted. I will/may add a touch to the hip circumference for the next tee (depending on how successful my cake fast is!!) I found that not much in the way of length adjustment is required. I made a 1" lengthening but am not sure whether I really need it. I'll leave that to see how it looks when made up.


Comparing the two fronts,  I can see the extra space that I feel I need at the bust level. Jenny told me that the sleeve doesn't change. That's why I only printed out the pieces for the front.
The purple mark and arrow between purple and orange lines shows the difference between the C/D and G/H cups. The extra marks were where I was deciding to add to armscye following the sleeve adjustment
The actual sewing will be quick.


However, in the meantime, I wondered about salvaging my fabric, for me. I'm planning to add a gusset. The options I had -
  1. I could re-cut the short sleeves, wider by the extra 2” I need. The sleeve band would also need to be re-cut wider (I haven't already cut it in the smaller width). I would then add a triangular shape in the top of the side seams. Although I think the underarm could benefit from being raised, I won't alter at this stage.
  2. I could add a gusset extending from bodice up through into sleeve. Triangular in bodice, parallel sides in sleeve.
I decided the first method would be easier easier for this hopefully quick fix.
The triangular addition to the bodice will also give a bit of extra space at the bust,  provided I make it long enough


Both methods involve a different stitching order. The original instructions have you put the sleeve in flat and then sew up bodice sides and sleeves. I would have to do this differently and set the sleeve in after the bodice is sewn. No problem.


I'm planning to leave this until my next sewing bee so that there is advice on hand if I need it. Mid term break is next week, so that's this Thursday with Lyn (This was on Thursday past, so I will update with a post later) or in two weeks with Dan. Yes, I attend 2 bees weekly,  when I can (I do miss quite a few because of other commitments) . In addition, I'm attending a tailoring module with Rory - again, I'll have to miss some sessions but I can catch up in the sewing bee. I'm very lucky!


Any comments?

I hope to do the update post later in the week

How Do You Read Blogs?

It's a while since I've posted a blog,  lots of reasons. I'm thinking of starting again. However,  I used to read the blogs I fo...