A shirt for my grandson
 |
| Front of shirt with collar down |
 |
| Front of shirt with collar up to show contrasting under collar |
Last year I saw that Deepika from PR had made a shirt. I think it was her,
anyway. I absolutely loved the fabric and decided to buy some and make a shirt
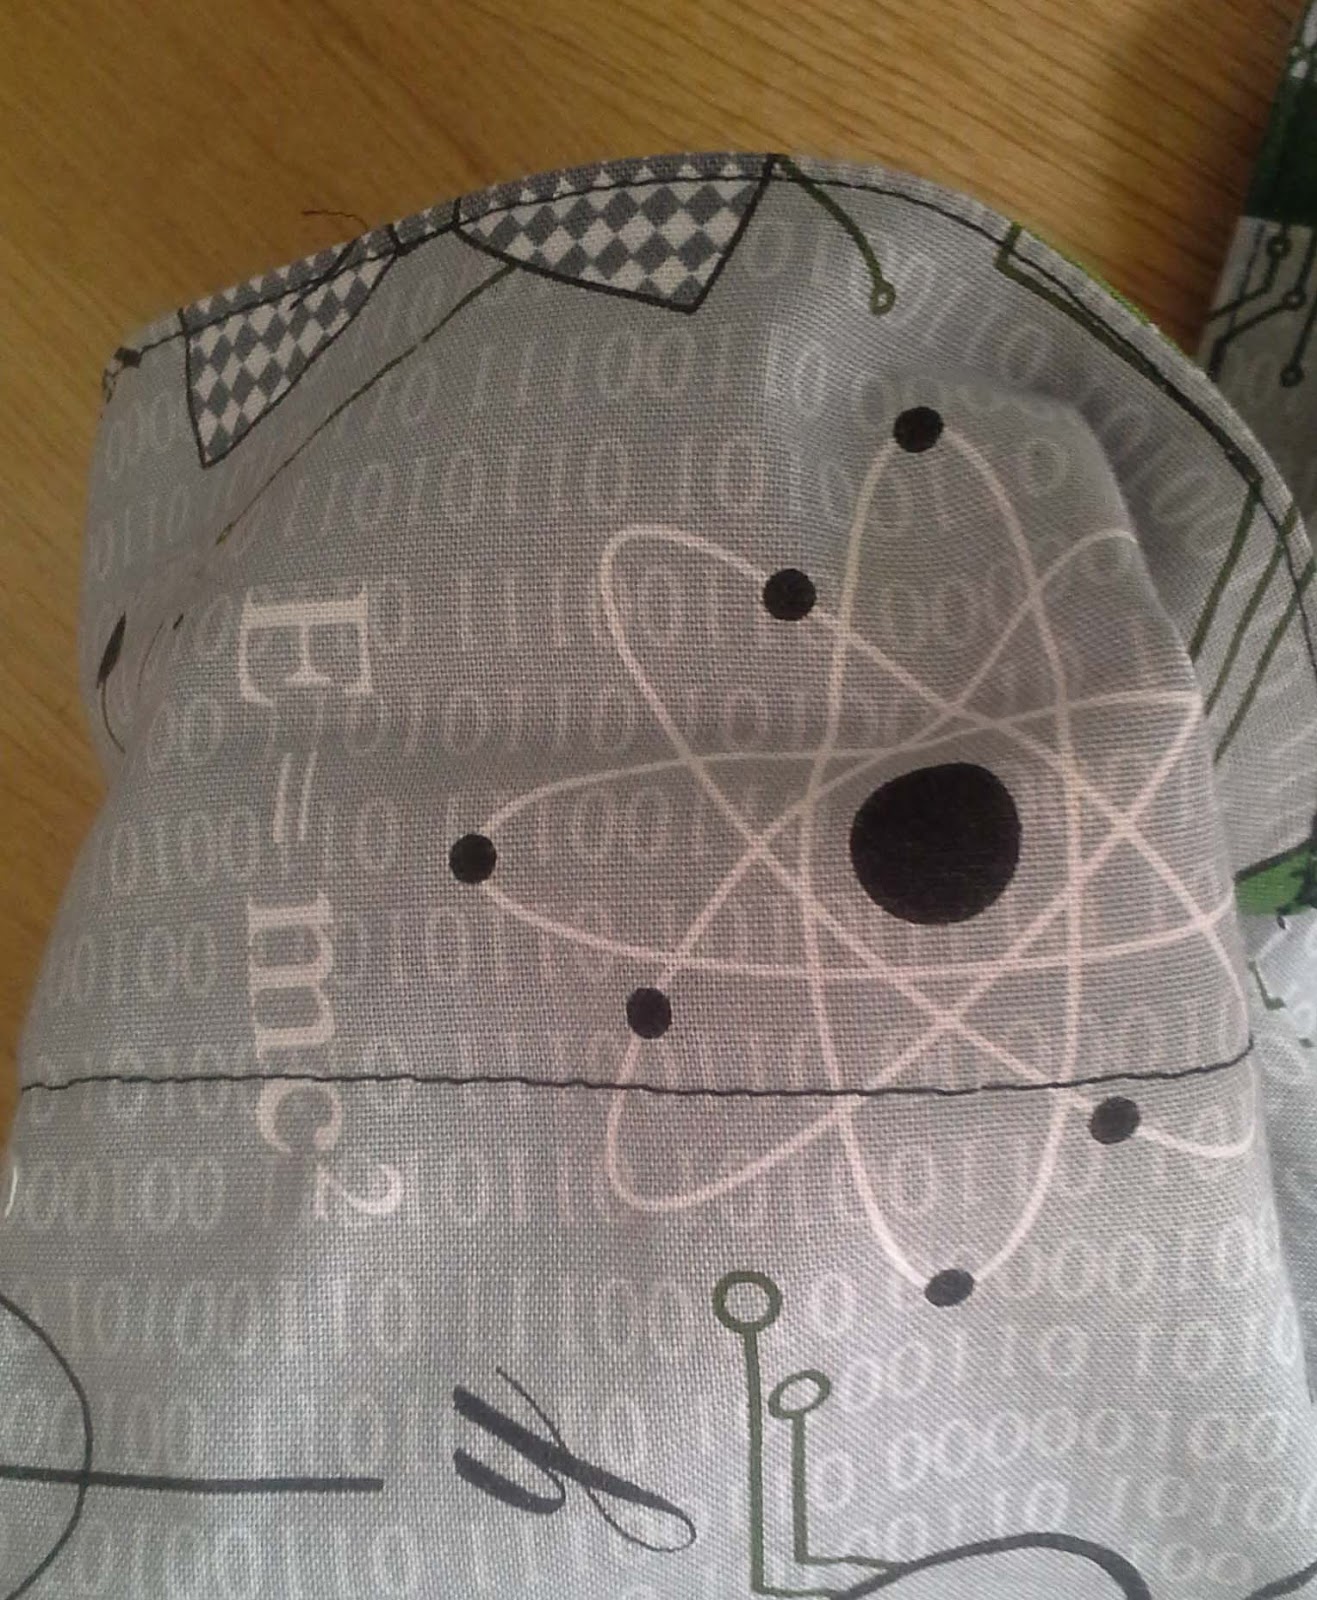
for Jack. The fabrics are Robert Kaufman/Sarah Johnston Mod Geek #14563 and
#14565
I had some difficulty locating the fabric which I eventually bought from the US
- even with import duty, VAT and postage it was cheaper than I could
source in the UK. I bought 2 yards of the main fabric and 1 yard of the
contrast. I'd hoped to get a shirt for Ben out of it too but there is probably
not enough (Ben and Jack both growing and mistakes - see later)
I didn't get around to the shirt until this year. I bought a Burda kids
pattern 9419 and decided to go for it.
I had Jack's birthday and the PR children's wear contest to spur me on! Jack
turned 7 last week (no, didn't make it in time). I saw him a couple of weeks
before that and had an age 9 toile in plain calico for him to try on. It was a
good fit. Really too good, though, and I decided to go with age 10. He's growing
like a weed. He's very tall for his age and his width is in proportion so the
shirt width was fine.
I love the fabric but it is a little bulky. Perhaps this is quilting cotton
rather than garment cotton? It's certainly not shirting cotton. I pre-washed
and tumble dried the fabric - I wouldn't tumble dry but my daughter could well
do. It has a nice handle and actually doesn't fray too much.
I traced out size 10. I left myself too much to do and too little time to
achieve what I had hoped for. I had to finish Joanne's culottes (part of her
birthday present the day after Jack's) and that took a lot longer than I
thought. I got them posted though and could start on the shirt. I then intended
to take it down with me when we visited to camp with them for a few days, which would have been on Tuesday past but we pulled out as neither if us is very well at the
moment.
I very carefully pattern matched the front pieces. No major problems in cutting
out main or contrast fabric or with the interfacing. I worked as suggested by
the pattern - except I used the clean finish method for yoke insertion (aka
burrito method) using my course notes from last year. I used a clean finish method for the pocket too. I used the pattern
instructions for the collar and stand but would have been better using my
course notes for that too, possibly. Both the collar and stand were interfaced on
both sides.
 |
| Inside of shirt to show clean sewn contrast yoke and under collar |
 |
| This also shows contrast internal yoke |
I had made a miscalculation! My perfect matching was perfect - if the shirt was
edge to edge and not buttoned! I had failed to take into account the overlap!
I cut out another right side front, using see-through tracing paper to
help with the pattern matching. I had enough fabric but perhaps not enough now
for a shirt for Ben.
Otherwise, no problems, really. My
collar didn't fit as well as I'd hoped, not sure why. I had to adjust the stand
on the hoof. Jack doesn't use a top button so I wasn't going to make one. The fabric was bulky here and the placket and stand
weren't flush with each other despite several attempts at adjusting. However, because we didn't go on holiday, I was able to go to my sewing bee and Rory helped me adjust further
and it looked a lot better after the fabric was trimmed further to make it
less bulky. Following the pattern instructions, I sewed the back of the collar to the shirt
but Rory feels the other way around is better. I unpicked the top
stitching (not the whole collar) and redid with a narrower collar width on the
inside as it was somewhat wide beyond the top stitching.
 |
| Detail of collar stand |
I overlocked the side seams together and top stitched on the right side to hold
down the overlocking and provide a decorative finish. I used black thread
throughout as I thought this provided a nice contrast and unified the pieces.
 |
| Side seams - stitched, overlocked together and then top stitched on right side. Wrong side |
 |
| Right side of side seams showing top stitiching |
I have a rather large stash
of buttons but couldn't find any to suit so had to buy some. I did have
some very nice buttons which were really just too small only around 9mm. I decided to use black buttons and black buttonhole stitching as I think this will fit in best with the
design. I couldn't do the buttonholes as I didn't have the buttons so sewed in a different order from the pattern instructions.
I had difficulty sourcing the buttons locally. My
local John Lewis had run out of black shirt buttons - but these were 15mm in
any case, and a little large. I managed to get some 13mm buttons, loose, in
Fenwick. I didn’t want to buy online unless I really had to as I wanted to see
them for size - in any case, I did look online and didn’t see much, really, in
black. I’d really have preferred atomic orbital buttons!
After getting the buttons, I made the
buttonholes and sewed on the buttons. The collar buttonhole was still a bit
tricky and took two attempts. The buttons are a good size for the placket but I
think this size is rather large for the collar. Jack won't button it, though,
so I won't change it.
Sleeve bands. During my toile, I accidentally sewed these on upside down and then had problems stitching. Fortunately, I worked out what I had done wrong and I stitched these this time without problem.
 |
| Sleeve band |
 |
| View of sleeve before band turned up |
 |
| Back - collar down |
 |
| Back - collar up to show under collar |
 |
| Detail of back, showing yoke, loop, collar stand and under collar |
I started on the hem. Please note that my self facings were already top
stitched down. This is important as I then followed my course notes to finish
this edge - and we hadn’t stitched them by that time. I sewed, trimmed and
turned and realised that I had done this completely wrong! This was a big
mistake and I thought I would have to redo the hem shorter than previously. At the sewing bee, however, I clarified that another option was to unpick the top stitching, open out
the fabric and bag the bottom. It looks
much nicer. Because I had trimmed the fabric, it was a little trickier but not
too much. However, I wasn't too happy with the hem. Being relatively wide, as
the pattern used a 1.5cm seam allowance, the hem didn't lie as smoothly as it
should have at the curves. I therefore took it out, narrowed the fabric by
trimming off on the overlocker and re-hemmed with a narrower hem, which I then
top stitched.
Overall, I like the shirt. This is the first I have made with a shirt collar
with stand other than the practice course garment. I hope Jack will like
it too.
Because we didn't go camping, that allowed me to ask advice about
the hem and the bulky collar stand front. My shirt is much better now than it
was. I probably won't get a photo of Jack in the shirt in time for the PR
contest, as they don't return from holiday until next week, but that's not
essential to enter.
I could have rushed the changes to the shirt but I felt it
more essential to tidy my sewing room (AKA dining room) - I’m afraid it was a
dreadful mess and as yet is only a little better! Also, I'm still a bit unwell.
Wednesday 9.30 pm
I've finished the shirt! I think it
looks great. I'll post it tomorrow after taking some photos which I'll put in
blog. If I'm lucky, I'll get a photo of Jack wearing it before the end of the
month which is last date for entry for the PR Sewing for Children contest.
I see now that there are things I could
have done better or rather differently - by not following the pattern
instructions in some cases.
# I sewed the pocket on differently, to give a
clean finish to the top
# I sewed the yoke on differently, using the
clean finish (burrito) method
# I sewed the bottom of the plackets differently
to give a clean finish
# I used a narrower hem allowance on the hem. I
think that if I do this again I would use a narrower hem allowance all over.
Even the collar here had a full 1.5 cm seam allowance which is way more than is
needed.
# I wish I had completely followed my course
collar instructions as I see now that the result could have been better, giving
a cleaner inside which is important when the collar is being left open.
I'm not going
to be hard on myself, though - this is a
perfectly wearable and presentable shirt. I like it.

 Overall, I like the shirt. This is the first I have made with a shirt collar
with stand other than the practice course garment. I hope Jack will like
it too.
Overall, I like the shirt. This is the first I have made with a shirt collar
with stand other than the practice course garment. I hope Jack will like
it too. 


What a fun shirt. Lucky Jack!
ReplyDeleteOh, sorry, my reply went to the wrong bit, again! I've deleted that one. Is simply going to say thank you, Marianne
DeleteI absolutely love this. This fabric is perfect.
ReplyDeleteThank you, Annie. I agree - I found the inspiration on PR.
DeleteThe shirt looks great! Love both the fabric patterns and the contrast between them is wonderful. Carol S
ReplyDeleteThank you, Carol. I love the fabrics, too. I'm glad I saw them together.
DeleteHi,
ReplyDeleteI bought this pattern ages ago and I now want to make a shirt for my nephew and I can’t find the instructions. Would it be possible for you to take pictures of them? I woild really appreciate it. Thanks!
I thought I could do this (though was concerned that this might breach copyright) but I have given the pattern away as I am destashing due to moving to a smaller house. I believe however that the company would send you the instructions of you contact them. That being said, there was nothing unusual in the instructions. Sorry I can't help
DeleteOh! Thanks anyway!
Delete