Margaret asked me if I'd like to go to a class in Leeds, at the Yorkshire School of Sewing, making a Chanel jacket, as I'd previously expressed an interest when we met in Dewsbury. Of course I would! Two separate days, with homework in between. Margaret offered to let me stay with her the night before each class which sealed the deal!
Margaret has already done a blog post following the first session, so I'm keeping this brief.
 |
| I originally planned shorter length, longer sleeves, no buttons and welt pockets. |
We had a number of supplies to buy before the class. The pattern. Vogue 7975.
Fabric. Interfacing. Trim. Thread. Buttons. Chain. We had to make a toile of the jacket basic pieces to take with us.
My time was cut short a bit as my mother is in hospital but I had managed a toile suitable to take before she was admitted.
I made a toile using Swedish tracing paper and found that I could hardly move my arm up. I was surprised at this as I thought Chanel jackets were cut high under the armhole to facilitate movement. The whole shoulder shape was off, I thought. (I've changed my mind since but that's another post maybe)
Alongside this I had been making up a Grainline Morris blazer and had what I thought was a similar problem. With that my tutor suggested I add fabric to the underside of the sleeve and to the body of the blazer which helped (I have posted about this and am far from happy with the outcome so this was not probably the correct alteration to try). I decided to try the same here and initially thought that worked well. I added approx 1” to the underarm and to the side body. This of course made the armhole too small so I had to extend that upwards. More was needed at the outside than the inside. The end result was a greater distance between shoulder and apex which was good for my 5’11” frame, I thought, but there was quite an alteration/distortion of the armhole/sleeve which I tried to balance again and an alteration/distortion of the distribution of fabric around the shoulder area. A lot of changes. Second toile in calico this time. Unfortunately I wasn't able to get professional tutor help with the fitting of the toile as I haven't been able to get to classes.
There was no change to biceps width. No other changes to length. I made up the short version. I thought the body is a little short, perhaps by ½” apex to waist and by 1½” waist to hem but I didn't adjust due to lack of time. It's not bad and the first thing in the class is adjustment of the toile. So it's ready for better or worse.
I should say I traced the pattern so I haven't altered the original pattern.
Fabric - I had some choices in my stash. I'd been asked to supply 1.5 metres or 2 metres if a larger pattern match. As I'm both a larger size and a longer length I felt that my Linton tweed pieces were too short at around the 1.5 metres length. I did have a piece of Avoca fabric from Fabworks and bought a piece of bouclé from them at GBSB Live last week. Both long enough. The first is navy and silver (better for my colouring) The second black and cobalt. I'll take them both.
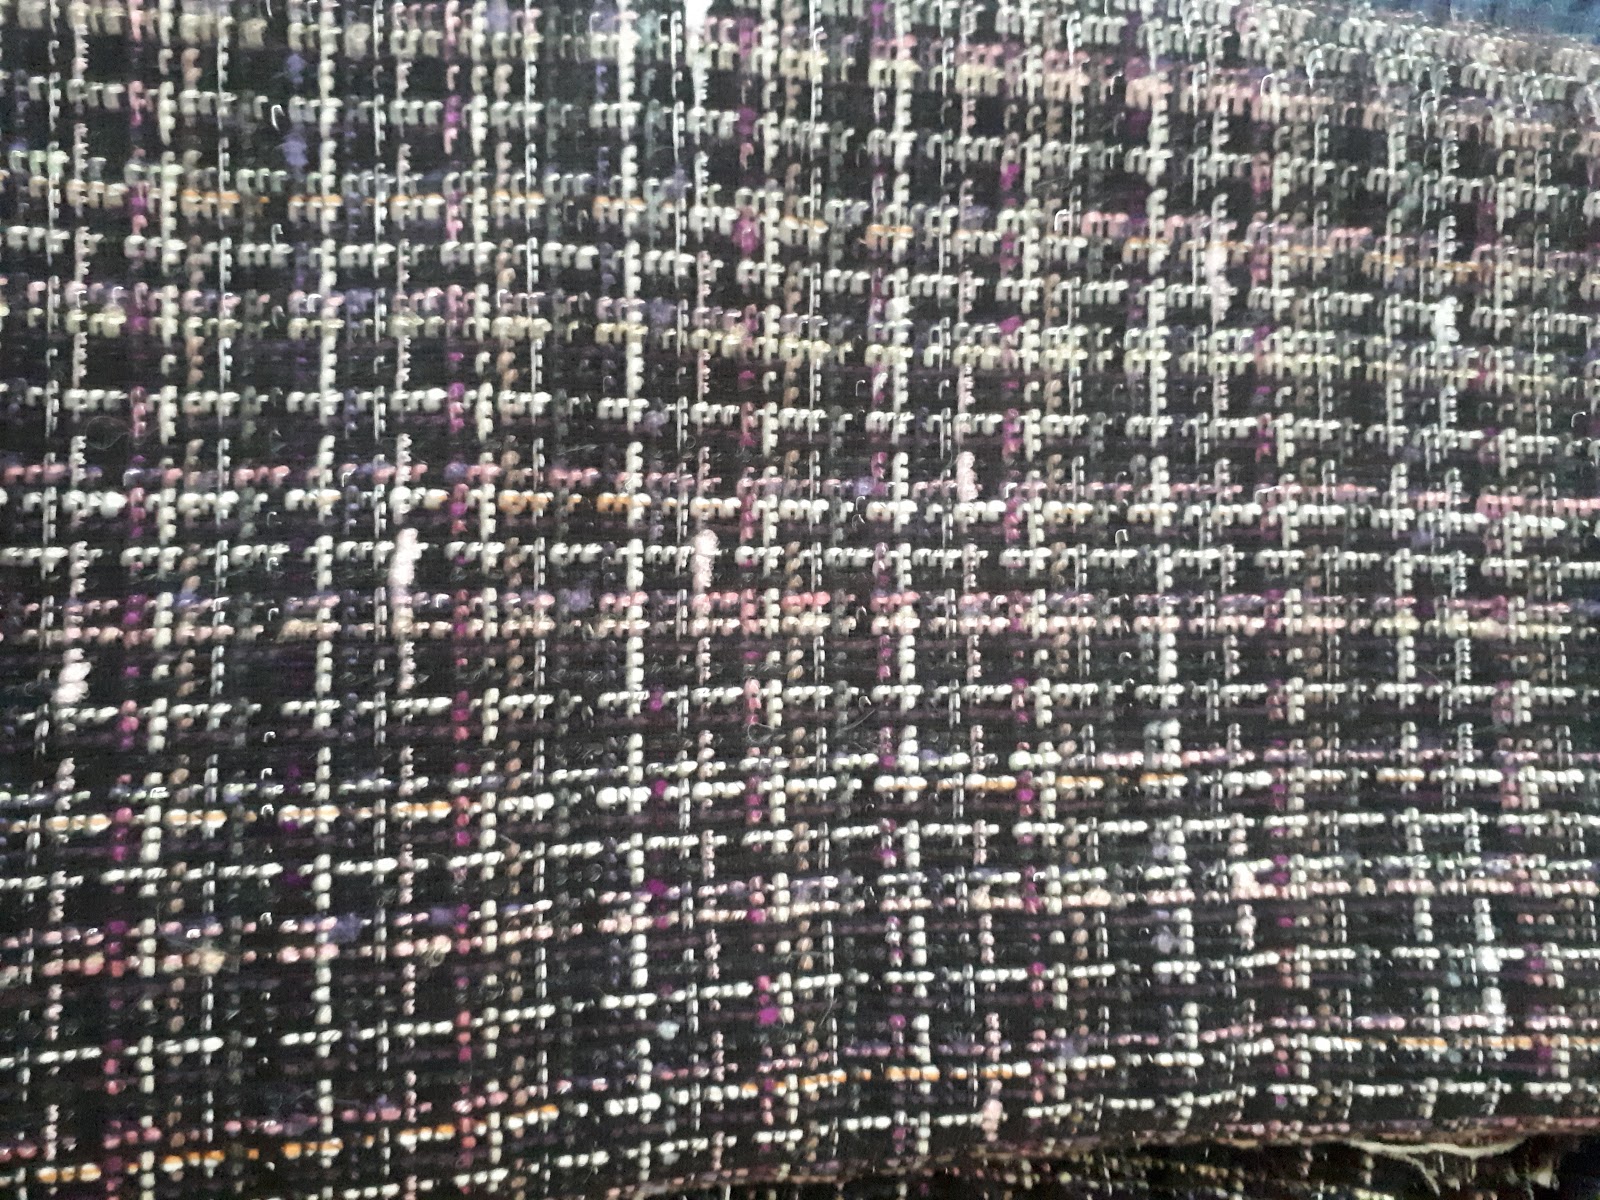 |
| A piece of Linton tweed but probably not enough. I like the colours here. |
 |
| Another option for later |
Originally I planned to use the navy and silver fabric and really wanted to trim the jacket in leather. I visited Le Prevo Leather, which is only a couple of miles from my house, for the first time, and bought some beautifully soft fine navy leather. I don't know if it will be suitable so I decided to get some trim too to give me a choice.
Margaret and I went to Fine Fabrics of Harrogate and bought lining fabric and interfacing (though unfortunately not quite enough of either). We bought some trim and some buttons in Duttons for Buttons - and I bought some more in Bonds of Farsley which I had never visited (or heard of) previously. Originally I hadn't planned to make a version with buttons but the class instructions mention buttons so I thought I'd get them. Lovely buttons.
Tomorrow is the first of the two classes. Everything is ready. Margaret and I both hope to make two jackets alongside each other. I think one of mine will be short no buttons and the other longer with buttons. Both will have long sleeves as I don't like jackets with ¾ sleeves.
Day 1
I was somewhat apprehensive, despite having briefly met Gillian the day before in Harrogate.
Gillian wasn't happy with my toile. She felt my adjustments had knocked the fit off and there was far too much fabric at the back, in the wrong place. The neck and shoulders didn't lie properly. The back neck fell back.The shoulder seams were uneven. The sleeves didn't lie or hang properly. I agree that this was the case. She feels that armhole/sleeve adjustments should be the last to be tried due to the complexity and that there is often another way of solving a problem. In addition, she didn't feel this pattern had major issues with this area. Basically I had created unnecessary problems. She asked me to cut out an unaltered version from the pattern tissue - fortunately this was still as per original. Fortunately too there were only two of us and Gillian was able to help me try to catch up with Margaret who was charging ahead.
So new toile. Still calico. Original size. Long length this time. Gillian thought this might be a little big for me but we agreed I should cut the size for my bust (42” full bust so a size 20 - other times I might cut according to my high bust 40” size 18 and make a FBA as I am a DD cup despite just 2” difference). The fit around the back was much better. The shoulders were still too wide. When taken in at the Princess seam, this narrowed the shoulder and worked well and the sleeve also felt much more comfortable. Clearly this should have been my first adjustment not going in big time to the adjustments I made! It didn't need a FBA. Waist position fine. So I was going to be cutting out an unaltered version in fashion fabric! I think that's a first!
I went with the navy and silver grey fabric which has a stripe pattern - matching required! Gillian showed me how to match properly. She did quite a bit (a lot!) for me to try to keep me up with Margaret.
Then beautiful soft interfacing was fused onto the back of the fabric pieces, ensuring they kept the original pattern shape. As I mentioned earlier, Fine Fabrics ran out of the interfacing we wanted so we ended up piecing and using different interfacings which again slowed down the process.
The edge of the fabric/interfacing was machine basted. That was an easy bit!
 |
| The fabric is navy and silver grey - I can't get a good colour on screen |
 |
| Testing quilting - reverse side |
 |
| Reverse - ready for quilting |
So I have quite a bit of homework before we meet again! As I cut out the longer length, I'd like it to have buttons but this means I also have to cut out facing pieces which I didn't do so I need to see what is sensible to try to achieve. I can't do any while I am in Scotland visiting my mum. I should manage some this weekend though. I need to as the next session is the following Saturday (thank goodness we had an extra week between sessions!!)
 |
| Fabric ready for quilting |
Margaret has already posted a blog post here and I think is still hoping to do two jackets. I'll be happy with one.
 |
| Machine quilting the fabric |


I have always been a firm believer in the minimum of alterations. Otherwise you just get distortion after distortion after distortion. And of course, quilting will also change how this fits. Looking forward to post 2.
ReplyDeleteThanks. I'm afraid I overestimated my skills!!
DeleteWe were taught to do the alteration at the point of difficulty. In other words, don't let out the back seam if the garment is too tight across the bust. Makes sense.
ReplyDeleteThank you. I've basted the jacket in fashion fabric together. Hopefully the fitting on Saturday will solve any issues!
DeleteHello Anne: Found your blog through SewingAdicta! Anyway, I was glad to see your clear and easily understood notes because I've had that same pattern sitting in my pattern box for a few years so I think I will now begin using the same directions that Gillian gave you. Will email you to let you know how I'm doing. Look forward to Post #2. Sincerely, Lamar from Texas USA
ReplyDeleteThank you, Lamar. I've had day 2 now, though not finished, so will post in a few days. Good luck with yours
DeleteLovely fabric! Fingers crossed the next fitting will turn out fine!
ReplyDeleteThank you, Marianne. Fitting fine, taken in quite a bit at the back princess seams at shoulders and tapering down. The sleeves have ended up a bit short so I'm going to add fringe to the ends - and same instead of braid at fronts. I'm not sure about bottom hem or pockets. What do you think? Not finished yet, by a long way but I do know what I'm supposed to be doing!!
DeleteI found deciding on the trim the most challenging of all! In the end I chose not to add fringe at the bottom hem as it created a horizontal line where I didn't need one. I also skipped the pockets for the same reason. Just try it out by basting some fringe in different positions!
DeleteIt's certainly true that I don't need a horizontal line just there, particularly not a fluffy one! A line there and a pocket would certainly be too much. I rather like the little while pocket at the waist. Yes, some auditioning in my future! Thank you
DeleteWhat a great project. You have access to professional fitting help for this so I would keep an accurate record of any pattern changes for the future. You were wise to keep the pattern intact and could go back to an unaltered version. The fabrics look lovely; I especially like the navy/silver one. I hope your mom is doing well and able to be home soon.
ReplyDeleteThank you, Mary. I have used the navy and silver/grey fabric. It has been a bit of a pain because of all the pattern matching! I could certainly have chosen an easier fabric. I've had my 2nd (and final) class and have been fitted. The jacket is looking nice but the sleeves are a bit too short so I'm intending to use fringe on the hems but will lengthen for next time. I don't want 3/4 sleeves. If I do a jacket with buttons, I will also need to lengthen - this length was fine for the short version (long version cut).
DeleteThank you, my mother is out of hospital and has (finally) accepted a care package - not much but should really help.