I originally was
going to do a post on the completion of my long-in-the-creation trousers.
However, we all know that the fit is the issue, not the construction. I don't have any good photos but decided to post today (a while after I started the post) to get it away. Too many of the photos are just a bit too personal to post on my blog but I have them for future reference! I don't have construction photos for some reason.
Briefly, I made up
trousers in navy cotton, for golf, using a heavy cotton fabric that I had bought to use for trouser toiles. The source was the trousers being fitted to
me and of which I had made a satisfactory basic toile ie with no added zip etc. These had a fly zip with
guard, front jeans-type pockets (but no back pocket as I don’t tend to use; in golf trousers, this is a pocket for the score card but I use my trolley card holder))
faced and lined with purple floral cotton. There is a one inch
waistband with seven belt loops. I had no problems with construction.
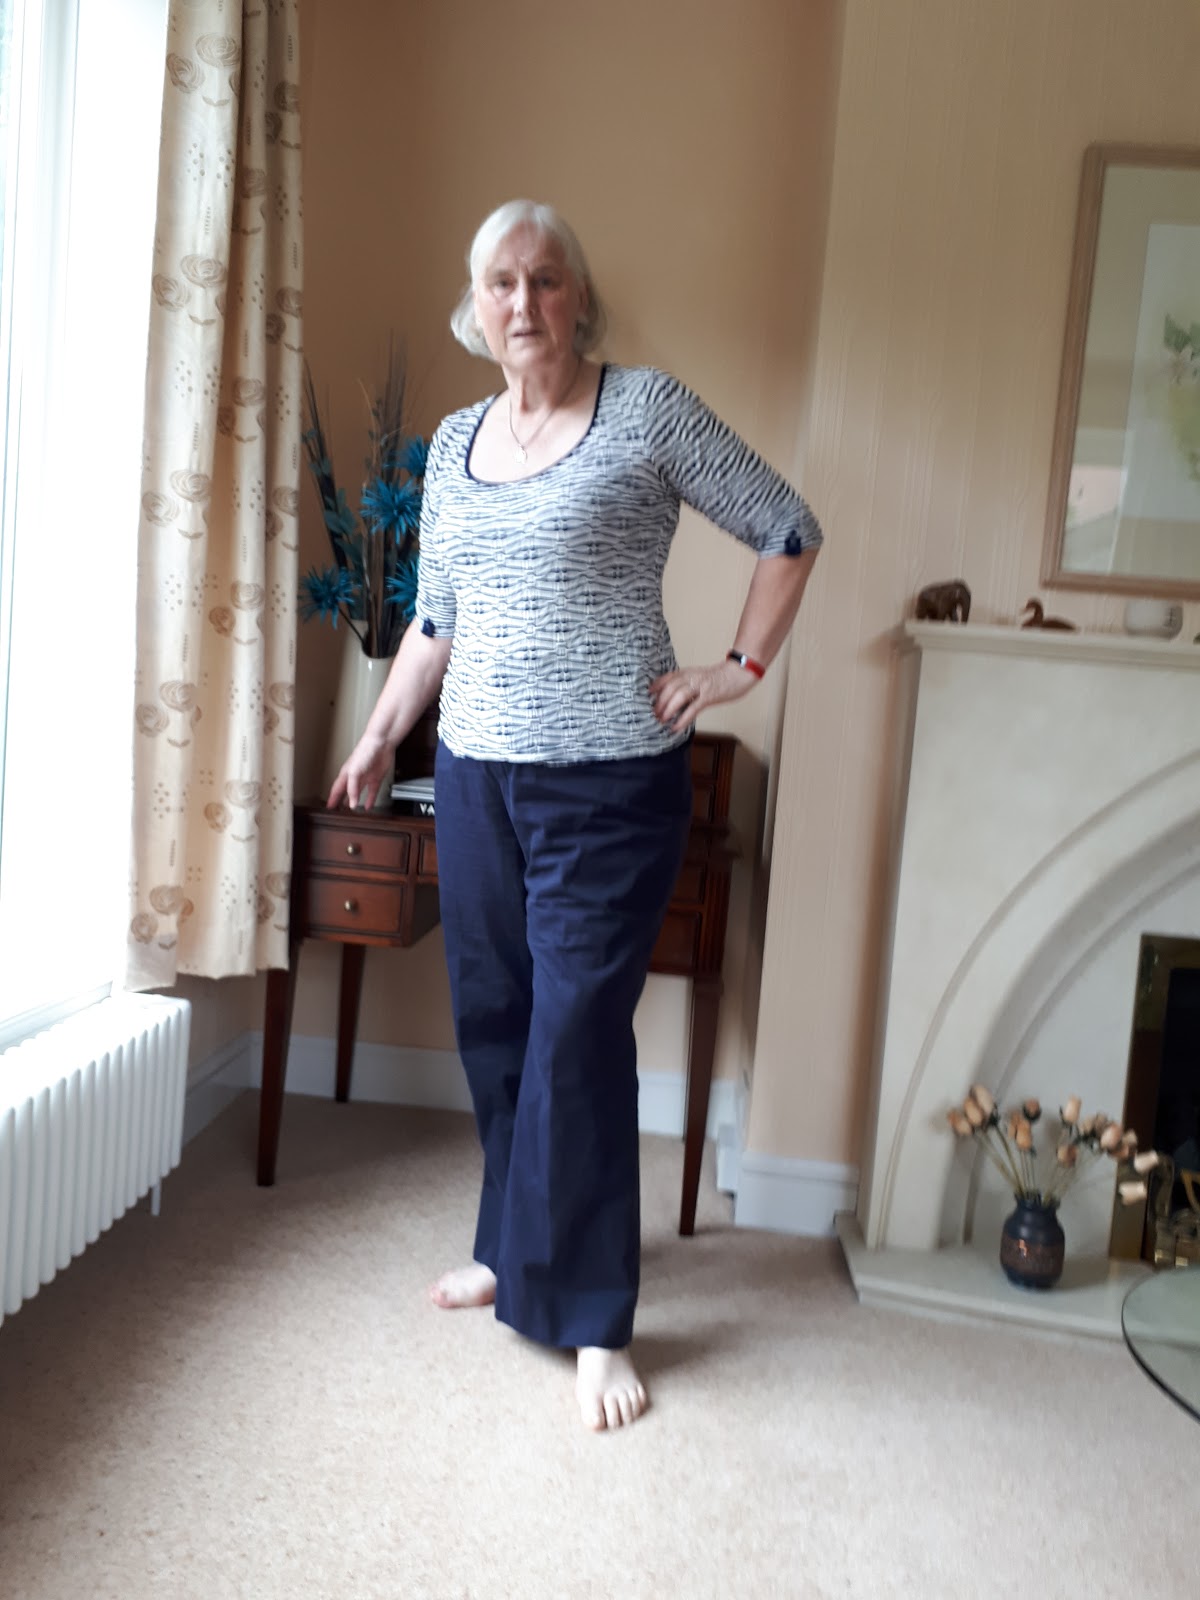 |
| Not in golf attire but I have worn them a few times to golf- no photo of that though |
A few points:
I made front ‘jeans
type’ pockets. For the pocket itself I used some floral quilting cotton that
had been sewn into a top which became a wadder. I had an idea how to do
them but followed my class instruction leaflet. I found it easier to understand
than Closet Case’s e-jeans book. However, one thing that struck me was that
Closet Case recommends sewing the fabric the other way around to the class and
I can see the reason why. With a plain fabric, I would use the class method but
with a pattern like mine it probably is better to see the bright cotton when
you’ve opened the fly zipper rather than it being deep inside the pocket as it
is.
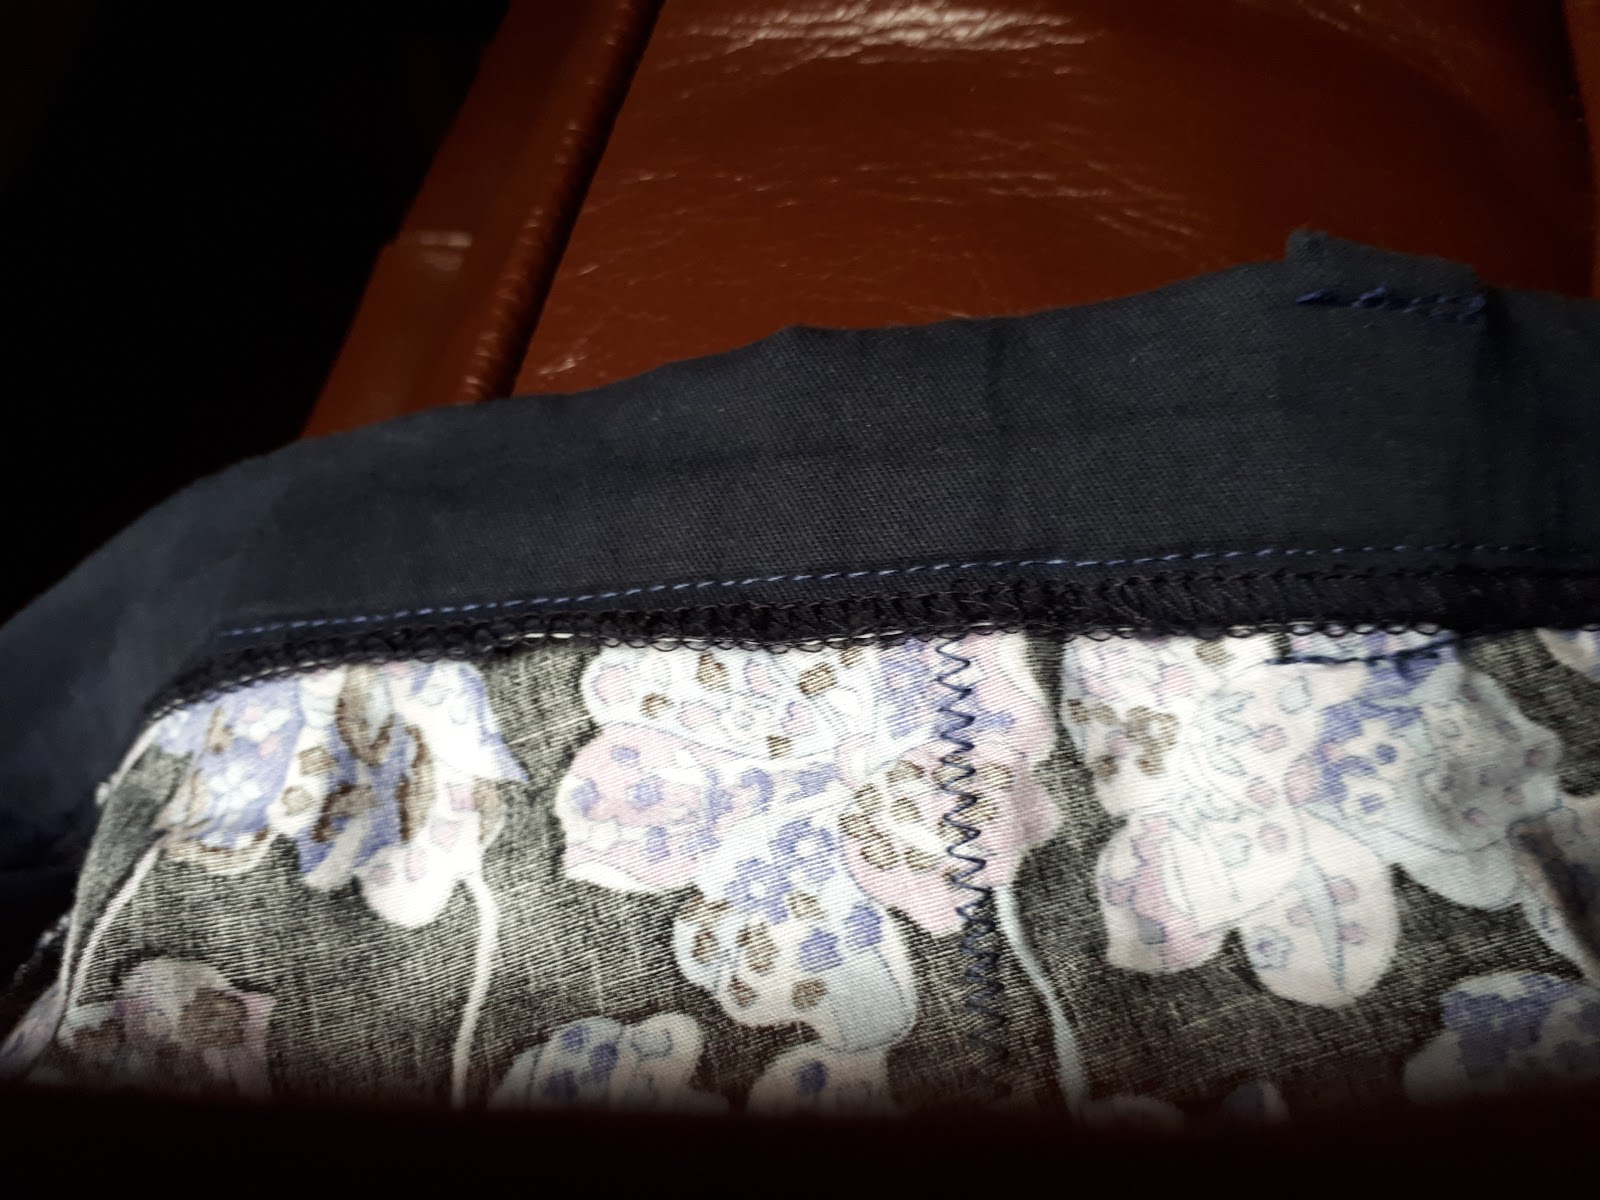
 |
| Inside trouser as opened up. Wrong side of fabric shows. You can just see the fly |
I used a Sandra
Betzina tip with the pockets and pressed them round a ham to simulate the body
which will hopefully make them lie flatter. I do believe that this worked
rather well.
 |
| This is trying to simulate the pocket around the ham. |
I then followed a
Sandra Betzina fly zipper insertion tutorial. I thought it was straightforward.
I completed it in class with advice from my tutor, who didn’t like the method,
feeling it was rather old fashioned. However, this method gives a larger
overlap than the method she would have used and is perhaps better for my
over-large tummy. I previously found with the other method that there wasn’t
quite enough overlap.
I was going to put
some elastic in the waistband but decided in the end I wouldn’t. However, I
decided to stitch the waistband with a seam at the back to make future
alteration easier. Hopefully alteration to make them smaller!
Despite being 'relatively' pleased with the toile, I do have a number of issues with these
trousers which I will rectify and which don’t stop me wearing them for golf.
The trousers pull
slightly at the front thigh. I felt I didn’t want to further increase the front
crotch point as they are already fairly loose in that area (but these are for
golf not fashion). My tutor suggested I use twill with a bit of stretch so I’ll
have look the next time I’m anywhere suitable. I didn’t find anything in my
brief trip fabric shopping in London (see last post)
After wearing them
for golf I had some thoughts
- The
front waistline is quite a bit too high due to my sloping waist
- The
side waist seam is a bit high
- Back
fine
- The
pockets are not the best shape, despite copying a RTW golf trouser
- The
fork point is too far forward.
- The
trouser legs are too wide and flappy but not in a nice wide legged trouser
way!
- I found too that the waistband irritated my bare skin. The solution to this was to tuck my top into my trousers - but that was particularly unattractive! Fortunately, when I played a match it was cool enough to wear a jumper. (I won my match on the last putt but, sadly, my team lost and we were knocked out of the competition). The inside was overlocked but clearly I’ll need to make a softer finish. I think this is likely to be a tape binding
- I do
have to wear a belt as otherwise the waist slips at front to its natural
position. I see that the side seams are too long in addition. Even with
the belt, the trousers slip a bit and there is a deal of excess fabric
pouffing out on the front, on the top of the in seam and above the fork. I
can wear them (until I get another pair!) but don’t find them comfortable.
- I will change the zip closure to the 'female' side
 |
| Crushed after golf. This fabric crushes easily and I'll avoid it for that reason. I used it here as this was designed to be a wearable toile. It's wearable - just! |
Changes to pattern
The fork point was
too far forward. After testing the point on my body, we agreed that I needed to
add to front crotch and subtract same from back and appropriately taper the
adjustment to the legs. I did this on the pattern. I hope that might alter the
pull across the front of the thighs as it added more to the front thigh. My
tutor also pinned out an adjustment in the hem width and I adjusted the pattern
to reflect that too. Interestingly, all of the excess came from the inseam,
which probably reflects my knee angle
After these changes,
I assumed I’d need to make a further toile. After washing the trousers,
following golf, I found that I couldn’t hang them up to dry in my usual way,
that is by using a clip hanger on the hems. The trousers were very twisted and
just didn’t lie properly.
In sewing group, I
asked about this and we found that the front crotch and back crotch points were
not at the same level, by some way - this despite the seam lengths being the
same. The leg cut edges were different shapes, too. I therefore decided to look
again at the pattern. That will be a future post! I have started but won’t have
time to do much until after the end of the month.
Tip
I bought Kenneth D
King’s fitting book and quite like the way he has done it. There is nothing
about trousers, though. Anyway, I’m not reviewing the book but rather passing
on a tip. Prof King re-uses his muslins. When marking the fabric, he uses
Frixion pens so that the marks disappear when he irons the deconstructed
muslins, then he can re-use apparently fresh fabric.
One night before the current heatwave, I was rather
cold as the temperature has dropped and it was rather dreich outside with a
horrible drizzle which made you feel cold just looking at it. I have been
trying to organise my sewing den. I have given away lots of fabric, ex-toiles,
but found a whole lot more. I wasn’t sure what they all were as although I have
labelled my patterns fairly reasonably, I haven’t done the same with the
toiles. I know some are more recent trousers, some historical trousers, and
there is a jacket, a dress etc. I spent time dismantling the toiles, picking
out the thread and then pressing the pieces (made me feel lovely and warm!). Some
of the pieces of fabric are marked - sadly with permanent marker, or pencil -
but in future I will try the Frixion pen method. I feel this is much more
environmentally friendly - and cheaper to boot. Other note to self; I must clearly label toiles and versions
 |
| This is just some of the fabric from the dismantled toiles taken on that dreich evening |
Thoughts on clutter
I have to confess, I
didn’t dismantle some of my course toiles - am I being sentimental? Or is this
just practical as I have a finished piece to consult? I’m thinking a lot about
practicality and sentiment as my mother prepares to downsize radically into a
sheltered flat. We too had been going to move - south, closer to our daughters,
though my mother being north was an issue. As we planned to downsize, we were
decluttering. What a lot of stuff! However, having had a house valuation which
is less than we had hoped for and given that prices further south are rising
and the difference between our prices and theirs is increasing, we have decided
to postpone a move for a few years. The decluttering will continue, however!


No comments:
Post a Comment
Thank you for taking the time to visit my blog. Please leave a comment. I welcome each and every one. I value criticism (constructive of course! ), love hints and tips and would appreciate suggestions for future direction.